Overview
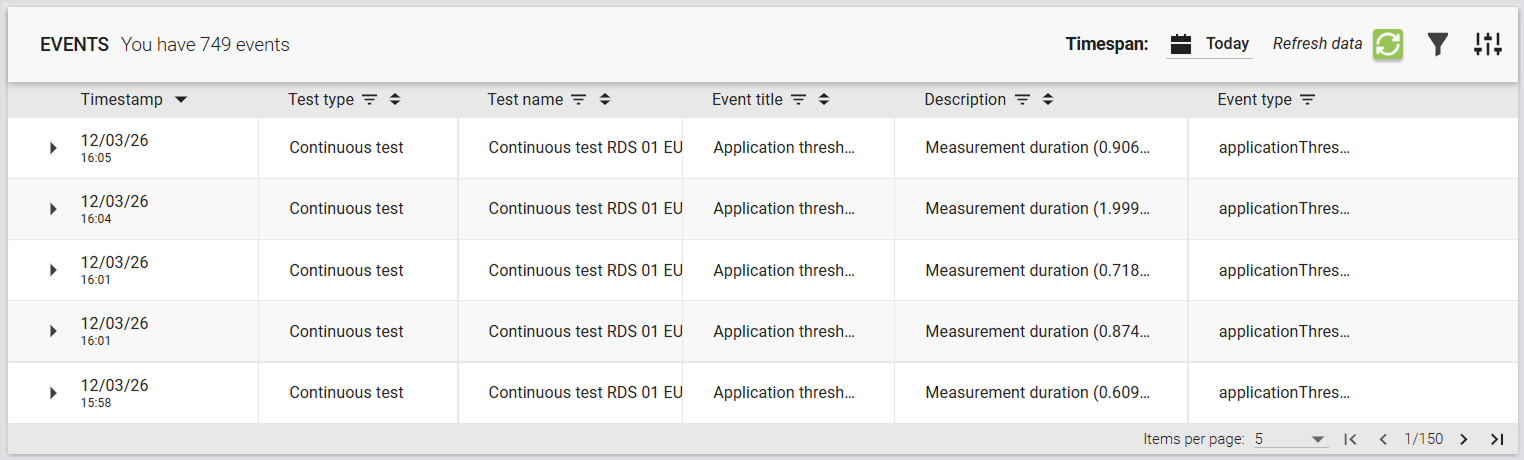
Custom events are user-defined messages sent from your connector implementation during a Test. They appear in the Events section of the Login Enterprise UI and include:
-
A timestamp
-
A session ID
-
A message (custom, free-form text)
This functionality lets you track key steps, issues, or decisions made during the Test session, especially helpful when using custom logic or workflows in your connector.
When to Use Custom Events
-
Report internal states, checkpoints, or branching logic
-
Flag warnings or known edge conditions in real time
-
Log custom errors tied to a specific test session
Custom events are purely informational and do not affect test execution or scoring.
Viewing Custom Events
-
The Events tab of a test run, alongside standard events like
SessionStartandSessionEnd

-
The Events section of the Appliance UI, where they can be identified by their message text.
-
Launcher logs, for local debugging.
These events follow the same retry and buffering logic as standard events, so they won't be lost during temporary connection issues.
Enabling Custom Events
-
Ensure you are using Login Enterprise v6.2, which supports this feature.
-
Generate a Configuration-level Public API system access token (see Adding a System Access Token).
-
Include the Session ID in your Custom Connector invocation (refer to Passing Session ID to the Custom Connector).
No additional configuration is required on the Appliance or Launcher side.
Implementation
Custom Events are implemented as an API call (see Using the Public API). You must provide the User Session ID of the session you want to attach your event to, and a “description” field as a JSON payload.
The API is a REST method at /v8-preview/user-sessions/{sessionId}/events. It accepts POST invocations only, and expects a simple payload:
{
"description": "Event message content"
}
For instance, to post a Custom Event for a specific User Session from PowerShell, this command will work (as will the corresponding Invoke-RestMethod):
Invoke-WebRequest -Method POST `
-uri https://login-ent.loginvsi.com/publicApi/v8-preview/user-sessions/$sessionId/events `
-H @{"accept" = "*/*"; "Content-Type" = "application/json"
"Authorization" = "Bearer zRZXRvJoAHM3tGiAiYpecKzTfcQN0lwZGr-GJ4XagzE"} `
-body '{ "description": "This is a custom event" }'
Note: You may need to tell PowerShell to ignore certificate errors if you are using a self-signed certificate (see this Public API example for how to do that).
To make this call from a Login Enterprise Stand-Alone Engine script, use this code:
using System.Net;
string appliance = "appliance-hostname";
string apiKey = "generated-API-key";
var client = new WebClient();
client.Headers.Add("accept", "*/*");
client.Headers.Add("Content-Type", "application/json");
client.Headers.Add("Authorization", $"Bearer {apiKey}");
var response = client.UploadString($"https://{appliance}/publicApi/v8-preview/user-sessions/{sessionId}/events", "{ \"description\": \"This is a custom event\" }");
}
}
To make this call from a Linux server or Linux-like environment, you can use this curl:
curl -X POST https://login-ent.loginvsi.com/publicApi/v8-preview/user-sessions/$sessionid/events -H 'accept: */*' -H 'Content-Type: application/json' -H "Authorization: Bearer $key" -d '{ "description": "This is a custom event" }'
Tip: REST calls are standard, so you can implement this in any language you need to.
Notes and Considerations
-
Custom events do not support attachments such as screenshots or logs.
-
The feature is optional and backward compatible. If your environment doesn’t use a supported Launcher version, the functionality will not be available.
-
Use descriptive but concise messages. Overuse of verbose or excessive events may clutter logs.
-
Your Custom Connector must already include the address for the Login Enterprise Appliance and the API Secret Key in the code, or you will need to add them as Custom Fields for all of your accounts and include the Custom Fields in your command-line invocation.
How Custom Events for Connectors and Launchers and Passing Session ID to the Custom Connector work together:
Pass {sessionId} in your Custom Connector command line; the Launcher substitutes the real session ID at runtime, allowing the connector to POST {"description":"..."} to https://<appliance-FQDN>/publicApi/v8-preview/user-sessions/{sessionId}/events so events appear attached to that test session in the Appliance Events feed.
Passing Session ID to the Custom Connector
Before Login Enterprise v.6.2, the session ID was only available inside the Launcher process. This enhancement ensures that the session ID is passed to the connector during its initialization.
How It Works
When you define a Custom Connector, there is a new variable available for command-line substitution: {sessionid}. Add it to your custom connector invocation, and you can use that parameter however you need to. You must make sure your custom connector is expecting and will accept this new parameter.
When the Launcher initiates a custom connector on the Appliance, it supplies the current session ID. This allows the connector to tag any custom events or log messages with the correct session so that they appear in the appropriate place in the Appliance UI.
Key Details
-
Accuracy: The session ID is accurate and deterministic, ensuring that any custom events posted by the connector are matched to the correct session in the event list.
-
Non‑breaking: Existing custom connectors that do not use the session ID continue to function without any changes.
Example Connector Script
Here is a simple example script showing how to pass the session ID to a PowerShell script and use that script to post Custom Events. To use this script as a Custom Connector, set your Connection Command Line field to this:
powershell.exe -c C:\LoginVSI\Scripts\connector.ps1 {host} "{username}" "{password}" "{domain}" "{resource}" "{email}" {sessionId}
The script simply receives these parameters, posts a custom event reporting the parameters passed, sleeps for 30 seconds, and posts a closing custom event. You would place your actual commands to perform the login in place of the sleep 30.
[CmdletBinding()]
param(
[string]$hostname,
[string]$username,
[string]$password,
[string]$domain,
[string]$resource,
[string]$email,
[string]$sessionid
)

$appliance = "your-appliance-FQDN"
$apikey = "your API secret key"

Invoke-WebRequest -Method POST `
-uri https://$appliance/publicApi/v8-preview/user-sessions/$sessionId/events `
-H @{"accept" = "*/*"; "Content-Type" = "application/json"
"Authorization" = "Bearer $apikey"} `
-body "{ ""description"": ""Host $hostname; Username $username@$domain; Resource $resource; Email $email; SessionID $sessionId"" }"

# perform the actual login process

sleep 30

Invoke-WebRequest -Method POST `
-uri https://$appliance/publicApi/v8-preview/user-sessions/$sessionId/events `
-H @{"accept" = "*/*"; "Content-Type" = "application/json"
"Authorization" = "Bearer $apikey"} `
-body '{ "description": "This is a custom event injected at the end of the test" }'