Overview
Load Tests are designed to simulate multiple active users all running concurrently, to determine the point at which an additional user would impact existing users noticeably. Login Enterprise will launch multiple sessions on Target machines in parallel, ramping up to a specific number of sessions. Each of those sessions will run the defined Application scripts in a repeating loop for the duration of the Test. By default, it includes the EUX data collection phase and tries to calculate a VSImax number for your Test configuration.
Load Tests are not schedulable. They must be manually started, either through the Login Enterprise sidebar menu > Manage Tests > Load Tests or by making an API call. However, they require a real Connector and do not support the manual Desktop Connector. Load Tests need to be in control of session initiation to control and measure multiple sessions properly.
How It Works
A Load Test performs the following sequence of actions:
-
Ramp up sessions based on your total number of desired logins and the number of minutes you allot to launch them. For instance, 5 users in 8 minutes would launch a new user every 2 minutes (because you always launch one at 0 minutes).
-
Once all the sessions have been launched, start counting towards the Test Duration configured in the Test. (If a session fails, it is not replaced.)
-
Within each session, repeat the Application script test sequence in a continuous loop until the Test duration has been met.
-
If configured, periodically run our EUX applications to generate and measure an approximation of what a user will experience. Also, capture any Application script timers and other session metrics.
-
When the overall Test Duration has been met, signal all the sessions to terminate. They will terminate after the current Application script.
When you look at a Load Test, you will see a chart that shows your login sessions ramping up, and how your recorded metrics behave as your number of sessions increases. What you’re looking for are points in the curve where your metrics start to drop off as your sessions ramp up. For more information, see Viewing Load Testing Results.
Note: Login Enterprise doesn’t enable alert thresholds or emails for Load Tests, since these types of Tests are intended to be run manually, not as a Continuous background Test.
Creating a Load Test
-
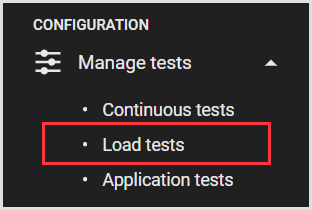
In the Login Enterprise sidebar menu, navigate to Configuration > Manage Tests, and select Load Tests.
-
In Load Tests, click “+“ on the top right to create a test.

-
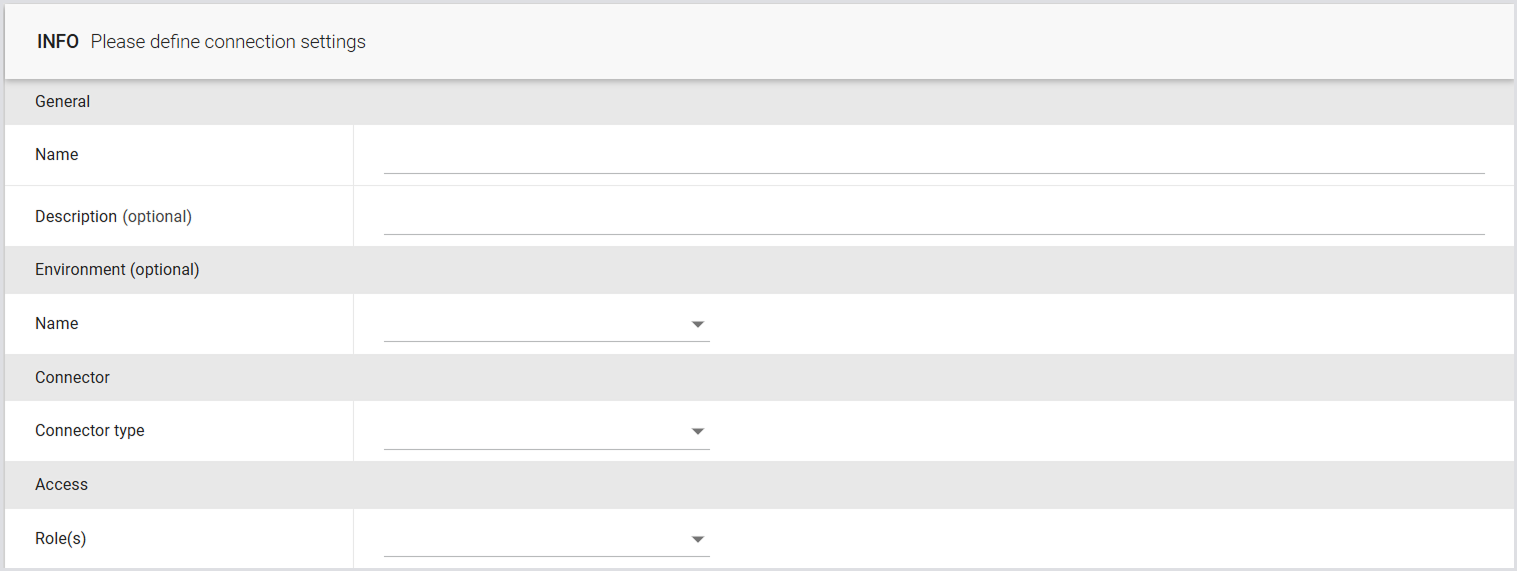
Define the connection settings:
|
Field |
Description |
|---|---|
|
Name |
The display name for the Test. |
|
Description (optional) |
An informative description of the Test. |
|
Environments (optional) |
The target environment where the Test will be conducted. For more information, see Configuring Environments. |
|
Connector |
The type of Connector to be utilized by the Launcher. Note: Each Connector has its own settings. Once you define your Connector, you need to specify the necessary information in the Settings section. For details, see Connectors. |
|
Access |
Select roles to control access to Test configurations and results. For more information, see Role-Based Access Control (RBAC). |
-
Click Save to apply the changes.
Note: When you delete a Load Test, only the Test definition itself is removed. Your existing historical Load Test runs and their associated data will continue to be visible on your Results page. However, if you delete a Load Test run, you will remove all associated data, including measurements, screenshots, logs, and events.
Configuring Load Test Settings
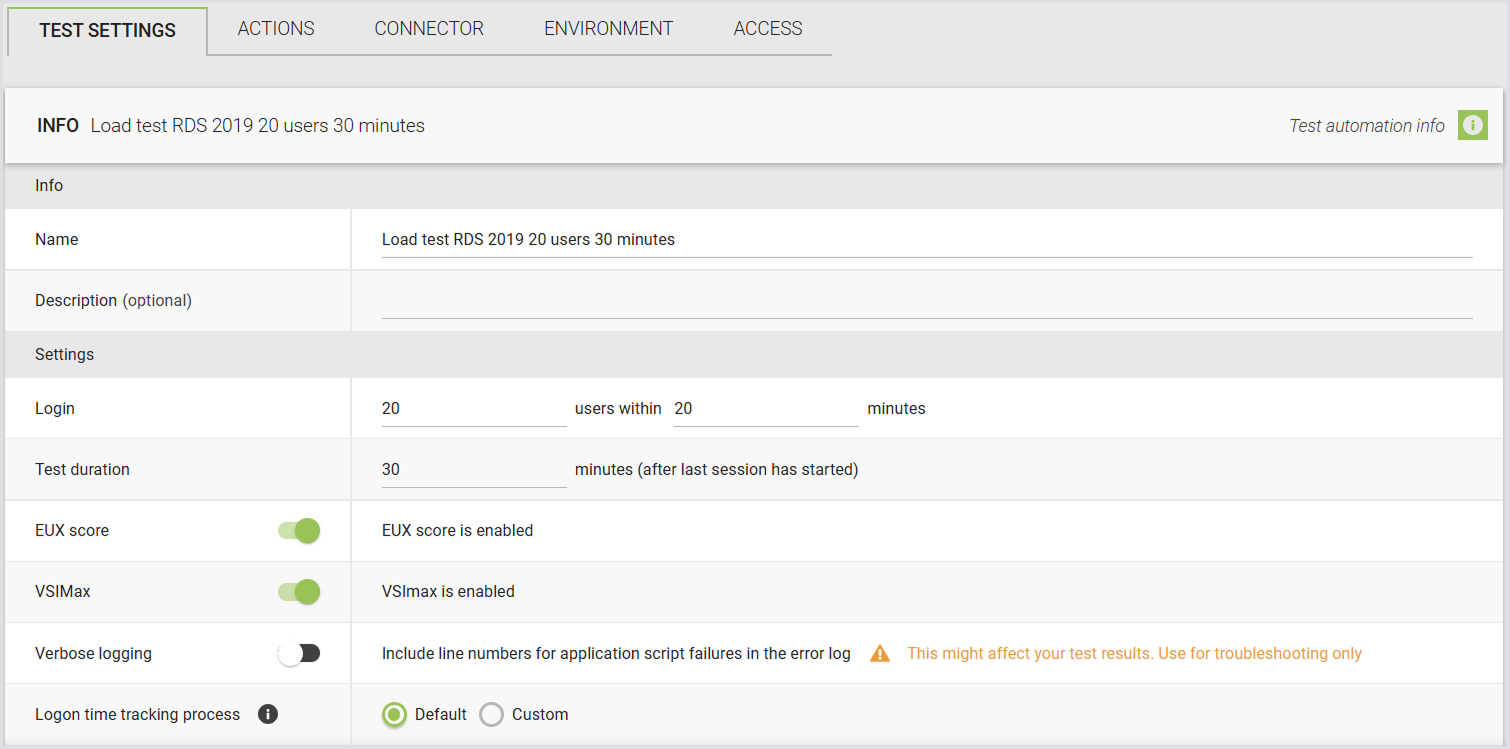
For the Load Test, you can configure the following settings:
|
Setting |
Description |
|---|---|
|
Login X users within Y minutes |
The number of users you want to be logging in and how long they should take.
|
|
Test duration |
How long the Test takes in minutes (after the last session starts). After the Test duration ends, all Engines will stop executing the script and log off. |
|
EUX score / VSImax |
Control how Login Enterprise measures performance responsiveness and scalability. For details, see the EUX score and VSImax. |
|
Verbose logging |
Display the command line number that triggered an error during application execution failures. Note: This may affect Test results as the line number is returned during execution. |
|
Logon time tracking process |
|
Session Metrics Settings
Within a Load Test, you can also configure Session Metric settings, such as:
|
Setting |
Description |
|---|---|
|
Session Metrics |
Enable or disable the gathering of Session Metrics. |
|
Metrics group |
Choose the desired Session Metrics Group to specify which performance counters should be collected. |
|
Schedule (in which session) |
Specify the schedule for sessions. If you don’t want to collect Session Metrics in every session, specify how often it can run, e.g., 1 out of every X sessions. |

For details on Session Metrics, see Managing Session Metrics and Viewing Session Metrics.
Actions
You can add the preferred Applications for the Virtual User to test. You can also add Application Groups, and “Waits.” For details, see Configuring Applications for Testing.
Access
You can assign roles to Tests to control access to the Test configuration and results. By assigning roles, only users with the designated roles will be able to view or modify the Test configuration and results, depending on their permissions. For detailed instructions on creating and managing roles, permissions, and dependencies, see the Role-Based Access Control (RBAC).

Adjusting the Engine Start Timeout
This setting works in the same way for all Test types. For details, see Adjusting the Engine start timeout.
Starting a Load Test
-
In the Load Test, click the Play button next to the Test you’d like to start.

Note: When you start the Load Test, Login Enterprise will attempt to reserve the necessary accounts. It will also verify the availability of the selected Launchers. Accounts cannot be shared, but Launchers always will be, if multiple Tests are set to use them. Accounts will be exclusively allocated for use by Load Testing during its execution.
-
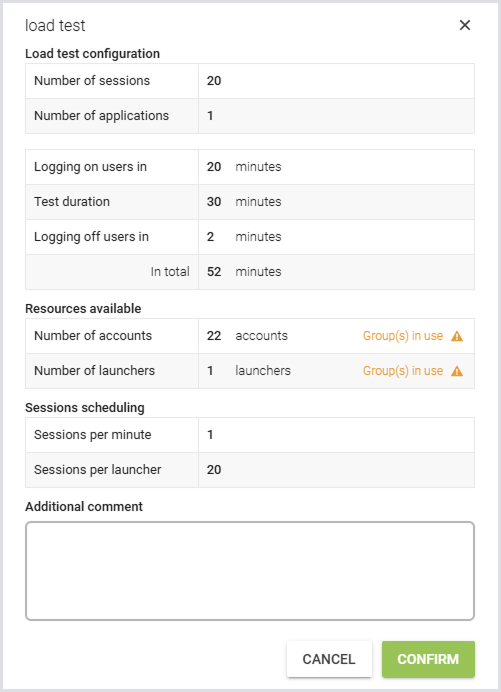
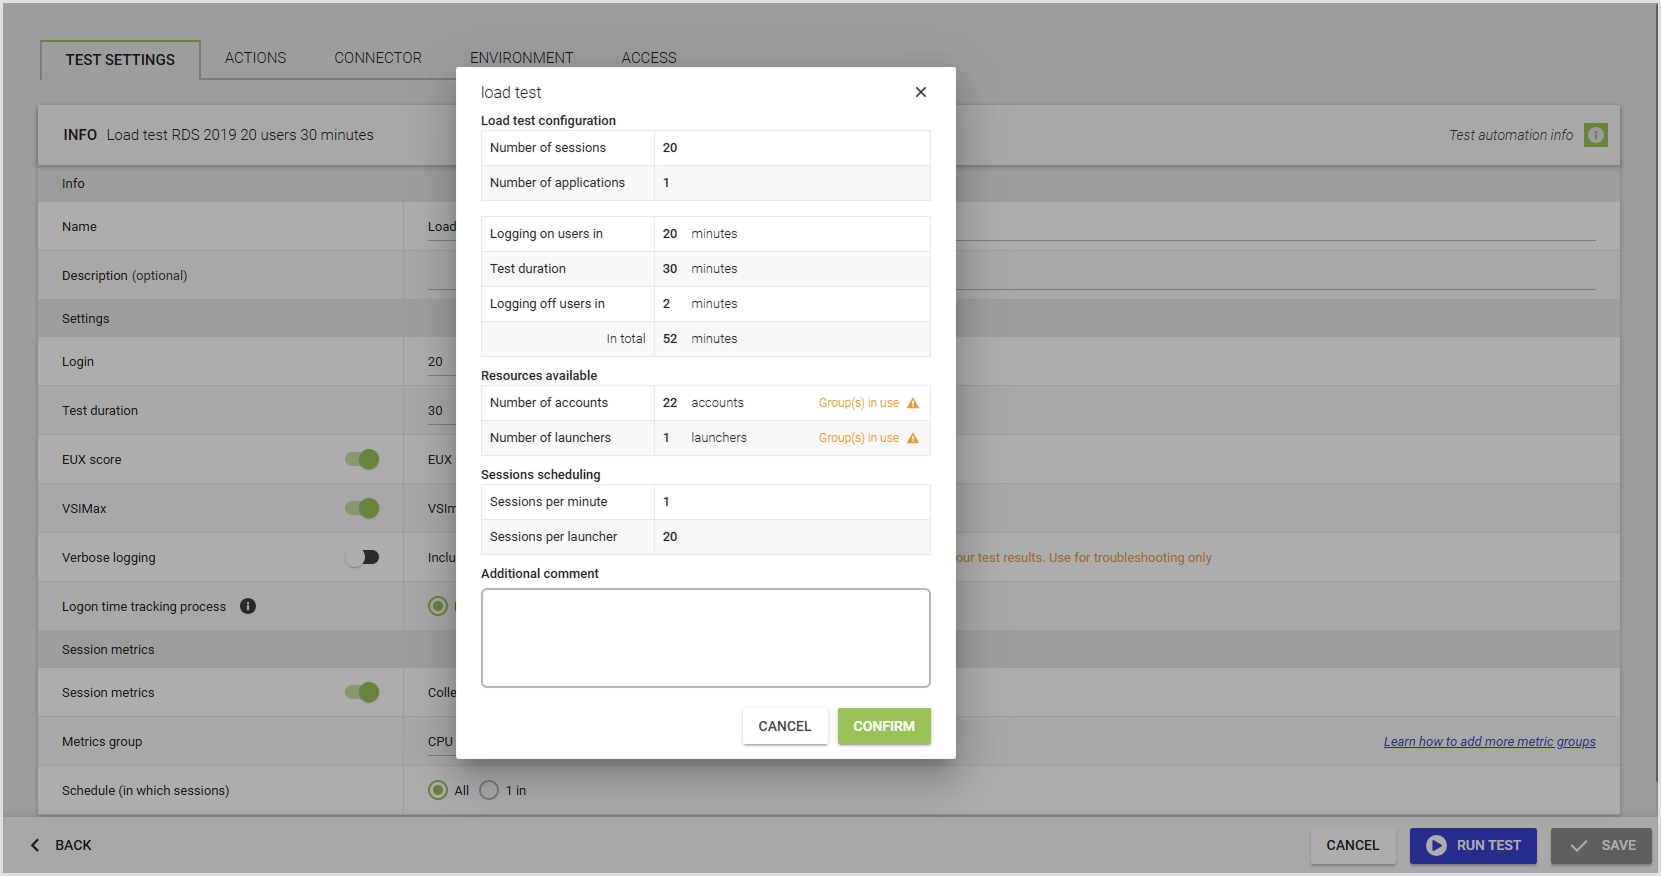
After you click Play, a confirmation dialog window will appear, displaying the current Application configuration. If the configuration is correct, click Confirm to begin the test.
-
Once you click Confirm, you will be redirected to the Test Dashboard. Here, you can see the Load Test and its progression. To view the early results of your Load Test, in the Test Dashboard, click on the Load Test that you started. For more information, see the Test Dashboard.
Starting the Load Test from Test Config
You can run a Load Test directly from the Test configuration page. This allows you to run the Test immediately after reviewing or editing its settings, without returning to the Overview page. If there are unsaved changes, you'll be prompted to save before the test starts.
Note: You can only run one Load Test at a time; if another Test is already running, the Start button will be disabled.
EUX score and VSImax
|
Dependency |
Behavior |
Calculation |
|---|---|---|
|
EUX score represents a responsiveness score (0–10) that reflects perceived system performance. |
Controlled by its own toggle in Create/Edit Load Test settings (enabled by default). |
Calculated directly from system responsiveness metrics. |
|
VSImax estimates the maximum number of concurrent sessions a resource can support before responsiveness noticeably degrades. |
|
Defined as the point where the EUX score drops below 5.5, indicating responsiveness degradation. |
To learn more about the EUX Score and VSImax, see Calculating the EUX score and VSImax.
Load Test Results and Comparison
-
For information on the Load Test results and comparison, refer to Viewing Load Testing Results.
-
For guidelines on how to analyze Load Testing Session Metrics, consult Viewing Session Metrics.