Overview
You can add Launchers to defined Locations. This is to more closely represent successful connections and latency that real-life users would experience in, for example, an office branch. Having a Launcher set up in each location needing to be monitored is a best practice. However, if you narrow down your selection to one location that’s not connecting to targets successfully, targeted troubleshooting can occur.
Tip: In a Load Test scenario, the best practice ratio for simultaneous Test connections per Launcher is 30 to 1. So, if running a 100-user Load Test, you need 4 Launcher hosts.
If Launchers are attached to configured locations when a Continuous Test type is in progress, these Launchers will be visible in the map view.
Adding a Location
-
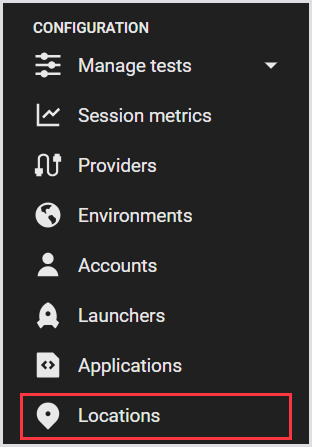
In the Login Enterprise sidebar menu, navigate to Configuration > Locations.
-
In Locations, click the green “+“ on the top right to add a new Location.

-
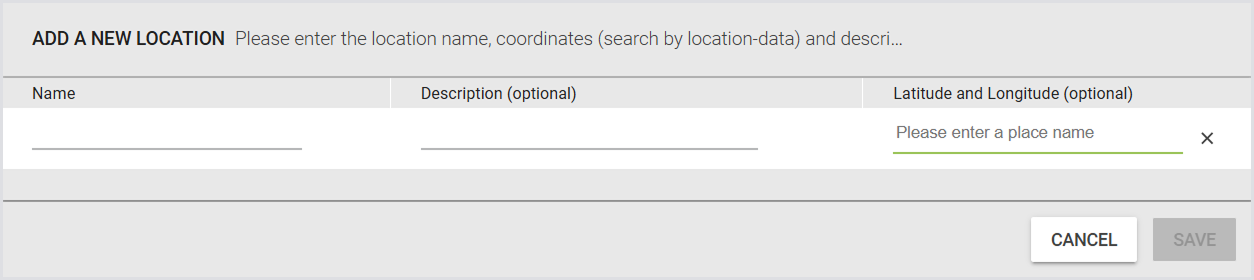
In the Add a new location window, provide the following:
|
Name |
Description (optional) |
Latitude and Longitude (optional) |
|---|---|---|
|
The name of the location. |
A brief description of the location. |
The location's coordinates. You can search by location data to fill these automatically. |
-
Click Save to apply the configuration.
Assigning a Location to a Launcher
Now that you’ve added a location, you need to assign the location to a Launcher. To do this:
-
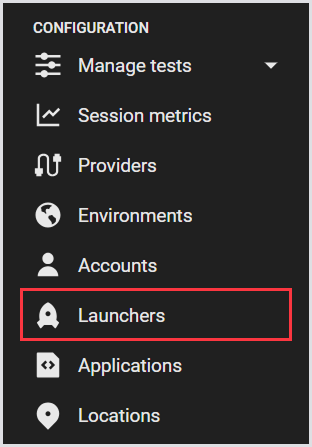
In the Login Enterprise sidebar menu, navigate to Configuration > Launchers.
-
In Launchers > Location (optional), select the location for the Launcher.

Locations and Tests
Although you cannot add locations to a Test directly, in a way, the locations are indirectly connected to the Test via the Launchers. This, however, only works for the Continuous Test type.
To view locations for your Continuous Test:
-
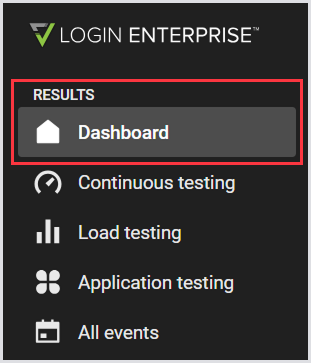
In the Login Enterprise sidebar menu, navigate to Results > Dashboard.
-
Make sure you’re viewing the Test dashboard.
.png?cb=aa2c97871bf4d51f8f438f02983fa09f)
-
Under the Test dashboard, click Continuous Tests only, and then click on one of the Continuous Test instances. This way, you’ll see more details about this particular Test.

-
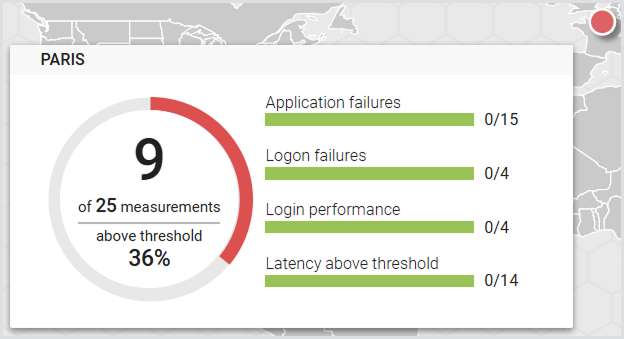
In the Top bar menu > All locations, select the location. These locations are retrieved from the Launchers that are linked to those particular Tests. When you select one location, the page will only show the results of that location/Launcher for that particular Test.

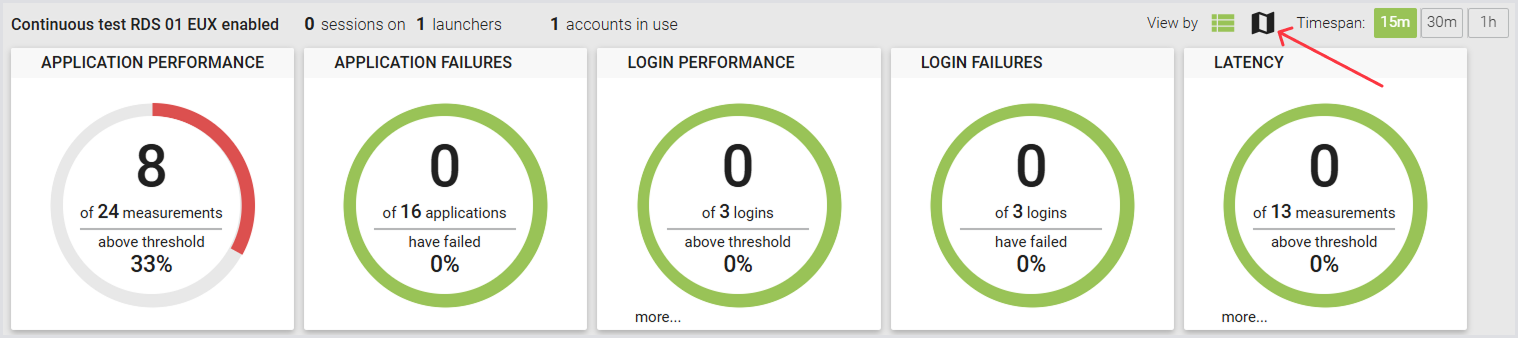
Launchers and Launcher Sessions in a Map View
To view Launchers and Launcher sessions on the world map:
In the Top bar menu > View by, select the world map view. This will give you a world map with all the locations of the Launchers linked to that Test and the results (summary) of each Launcher/location. If you have 2 (or more) Launchers in the same location, it will just add up the results of those 2 Launchers.
Now, you can view the Launcher location plotted on the world map.
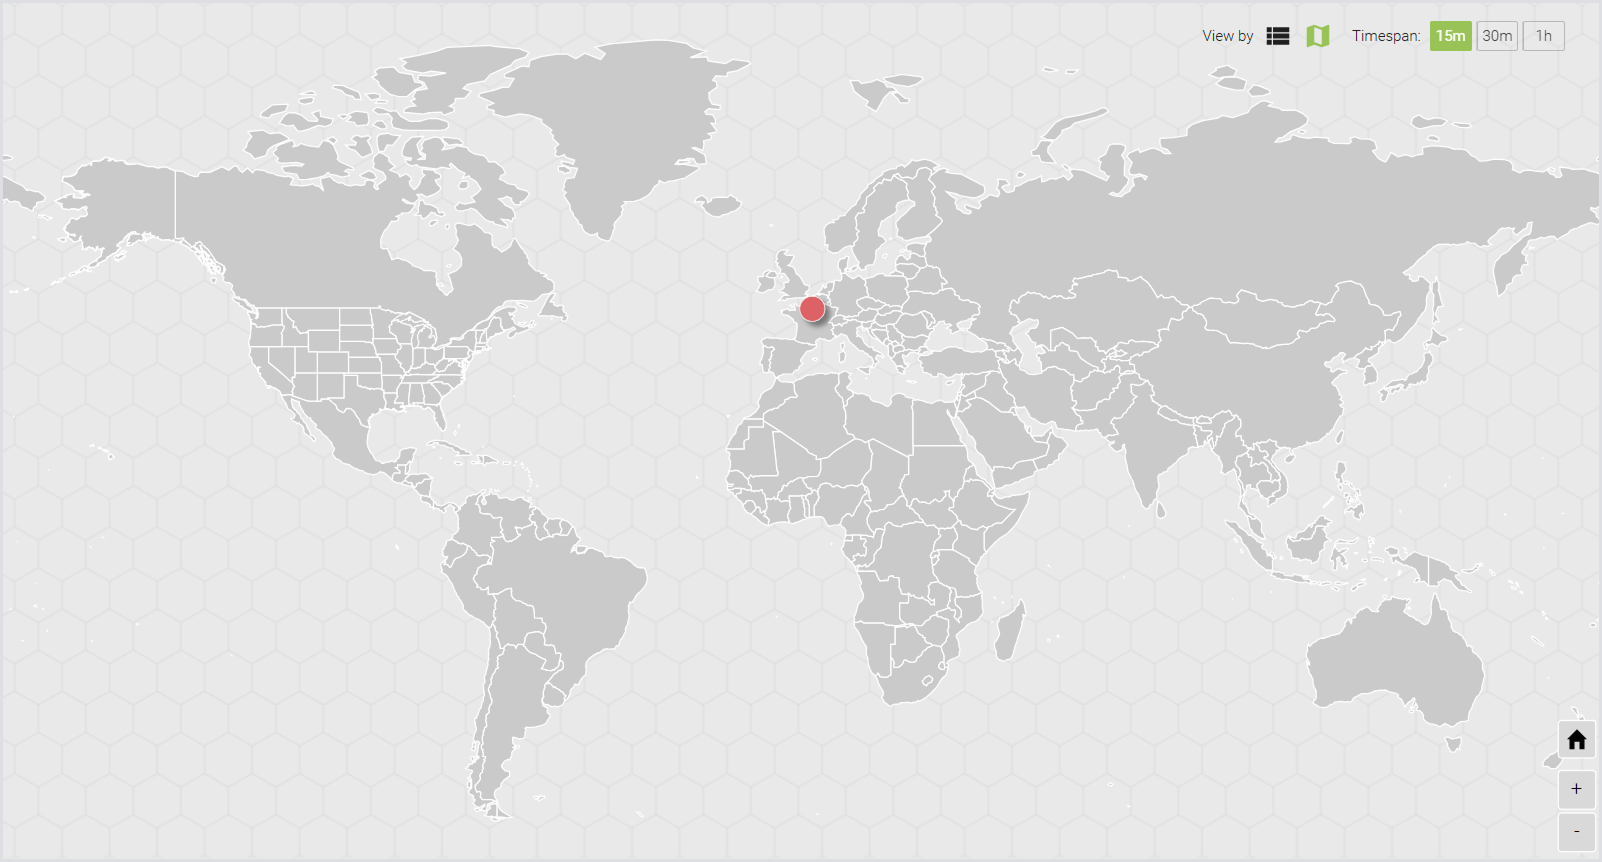
The hoverable tooltip shows connection, and Test successes and failures.
Additional Resources
-
For information on the Launchers overview and best practices, see Launchers Overview and Best Practices.
-
To learn about the Login Enterprise Windows Launcher setup, configuration, maintenance, and more, see Configuring the Windows Launcher.
-
To learn more about Continuous Testing, see Configuring Continuous Testing.