Overview
This section walks you through deploying the Login Enterprise Virtual Appliance (OVA) into a Nutanix AHV environment. By running Login Enterprise on Nutanix, you combine Nutanix’s enterprise-grade infrastructure, high availability, rapid scalability, and simplified management with Login Enterprise’s powerful endpoint performance testing and automation.
Prerequisites
Before you begin, ensure you have:
-
Nutaniх Prism Central access and an AHV cluster are already configured.
-
Administrator privileges in Prism Central to upload and deploy OVAs.
-
Subnet defined for the VM’s network interface.
-
Login Enterprise OVA download URL (or the .ova file downloaded locally). Refer to Downloads.
Deployment Steps
-
Log in to Prism Central with administrator credentials.
-
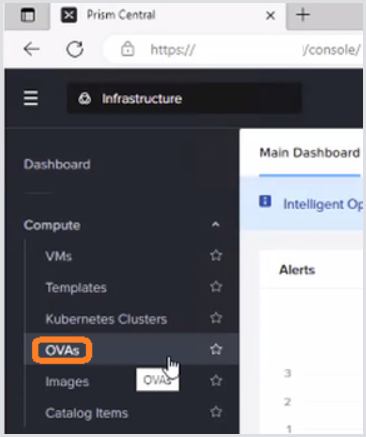
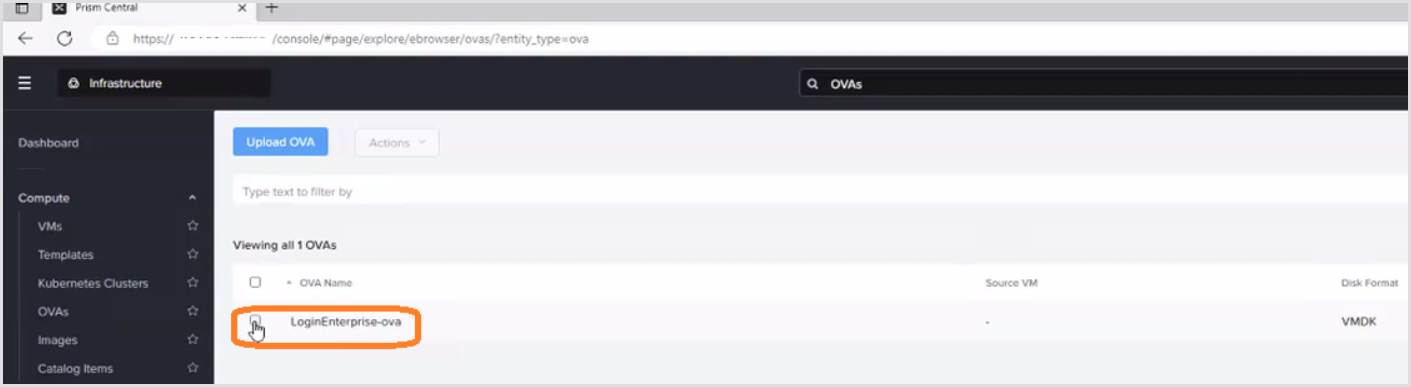
From the main menu, select OVAs.
-
Click Upload OVA to start the upload.
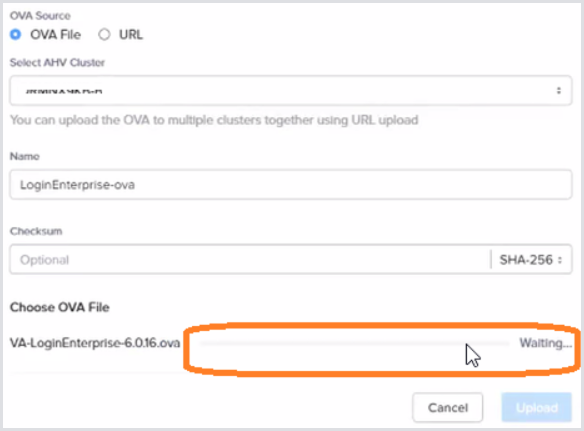
Option 1: Upload from local file

-
In the OVA Source dialog, ensure OVA File is selected.
-
(If required), choose the target AHV cluster.
-
(If required) Enter a Name for the OVA.
-
Click Select File, browse to your downloaded Login Enterprise .ova, and open it.
-
Monitor the upload progress until complete.
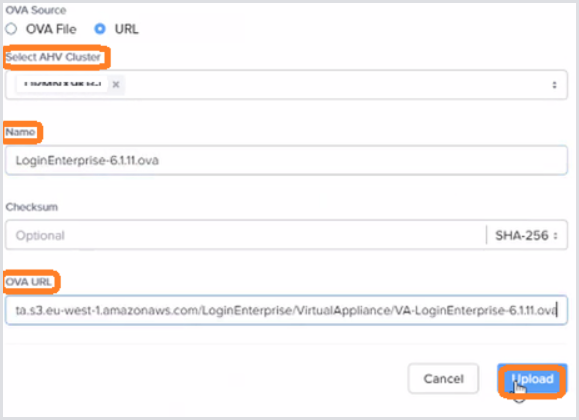
Option 2: Upload via URL
-
In the OVA Source dialog, select URL.
-
Enter a Name for the OVA.
-
Paste the Login Enterprise OVA download URL. The .ova URL can be retrieved from Downloads, under the Nutanix download (get the URL from the Download button for it).
-
Click Upload and monitor the task creation.
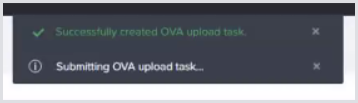
-
Confirm OVA availability.
a. Watch the real-time updates (upper right).
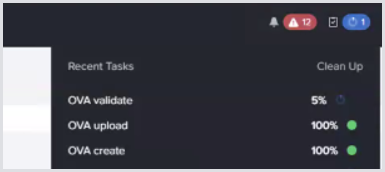
b. Once uploaded, verify the OVA appears on the OVAs page.
-
Deploy as a VM.
a. Select the new OVA, click Actions > Deploy as VM.
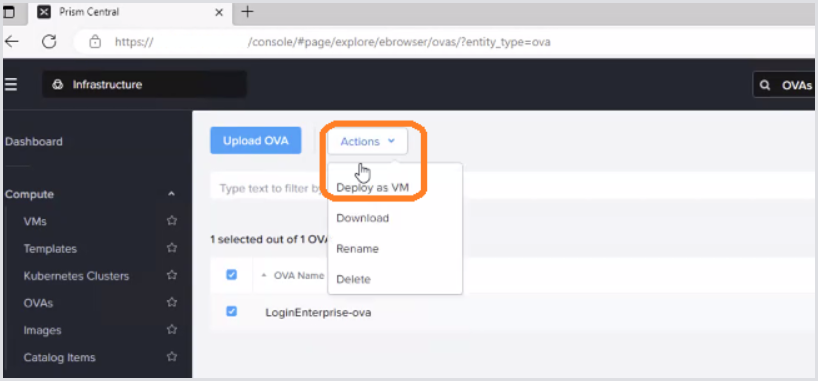
b. In Deploy as VM:
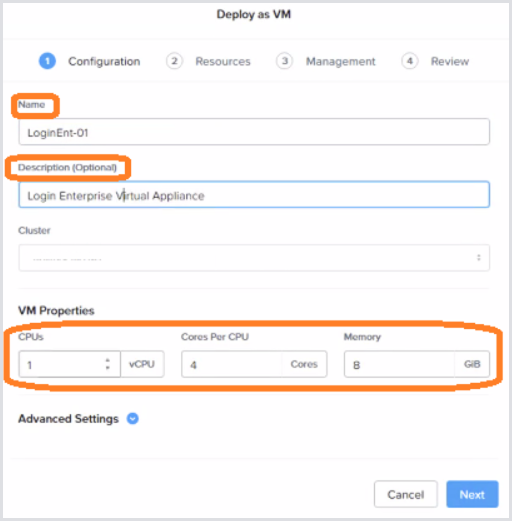
-
Name: Enter your desired VM name.
-
Description (optional).
-
CPU & Memory: default (1 vCPU × 4 cores, 8 GB) is sufficient; adjust later if needed.
c. Click Next.
-
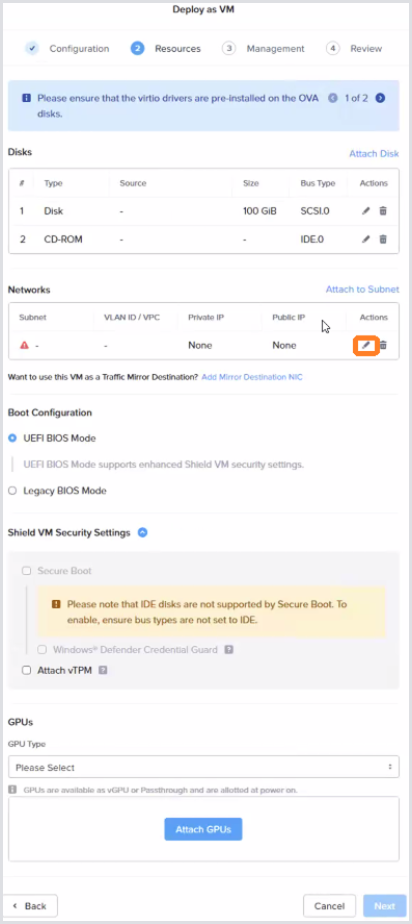
Configure Networking.
a. Under Resources, click the pencil icon next to Networks.
b. In Update NIC, choose the appropriate Subnet.
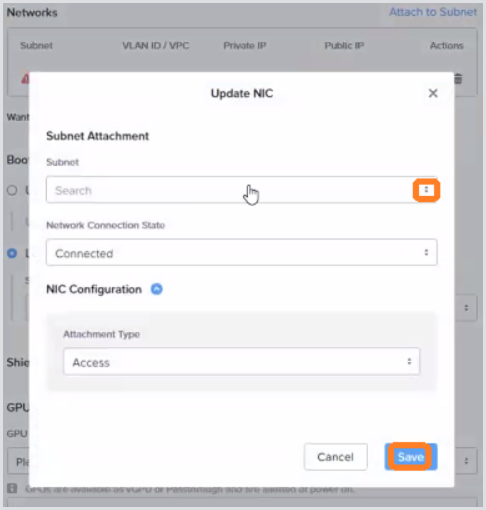
c. Click Save and then Next.
-
In Resources, under Boot Configuration, select Legacy BIOS Mode.
-
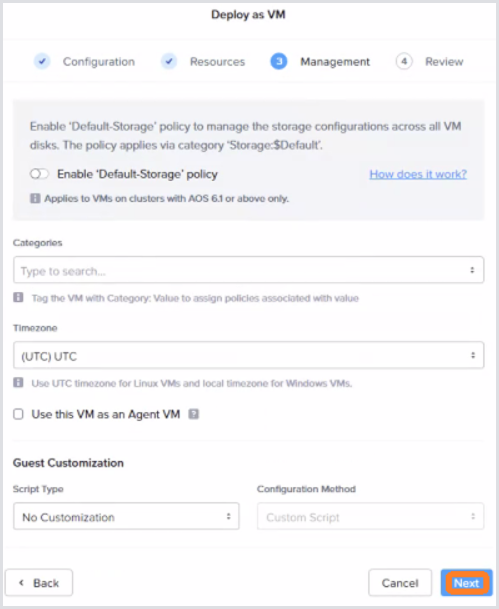
Finalize Management Settings.
a. Review any management options; leave defaults unless changes are required.
b. Click Next.
-
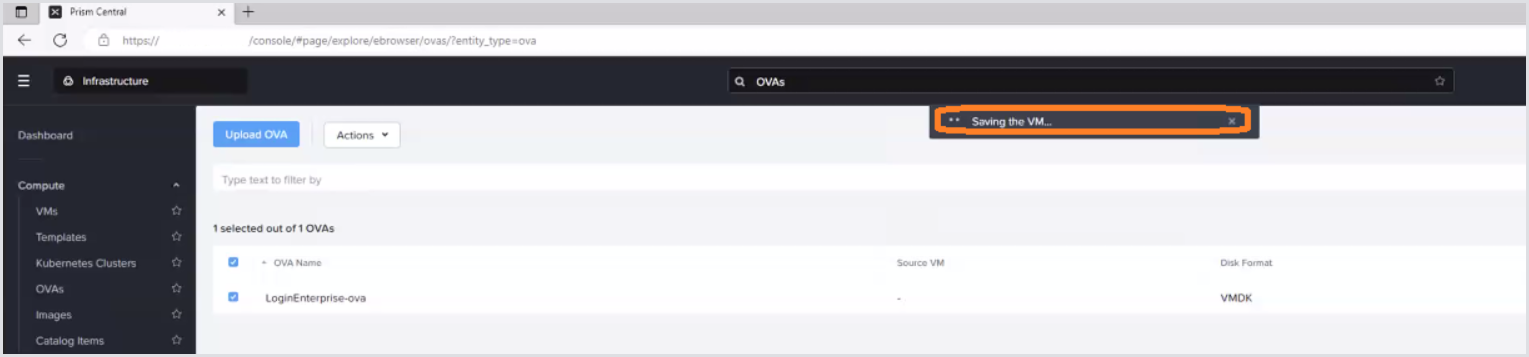
Review & Deploy.
a. On the Review page, confirm your settings.
b. Click Finish.
c. Observe the Saving the VM… popup.
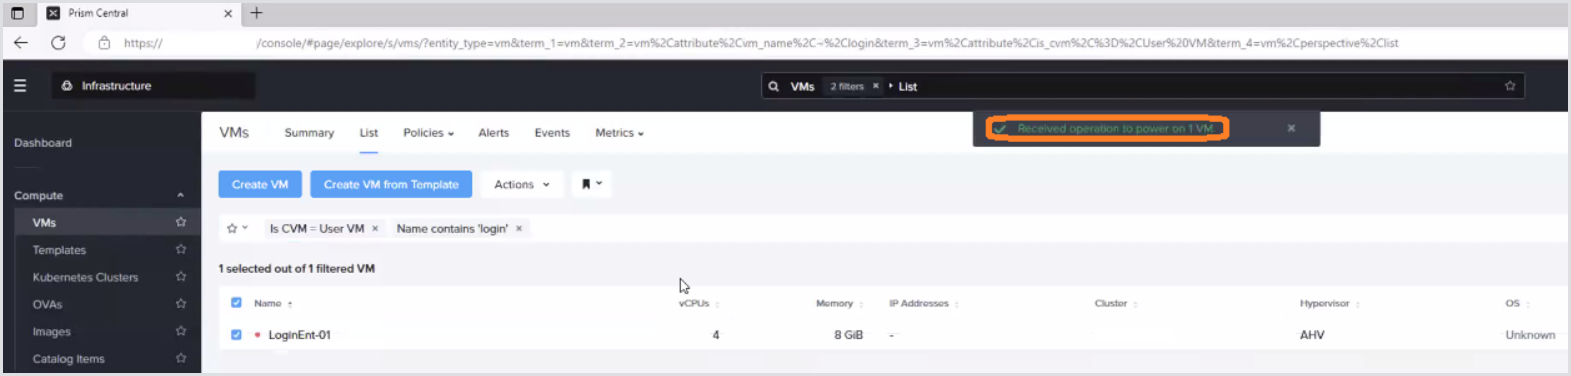
10. Power on the VM.
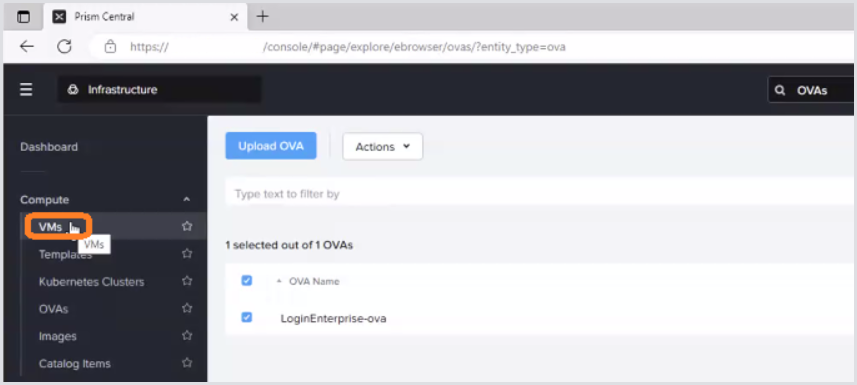
a. Go to VMs, select your new Login Enterprise VM.

b. Click Actions > Power On.
c. Wait for the “Received operation to power on 1 VM…” notification.
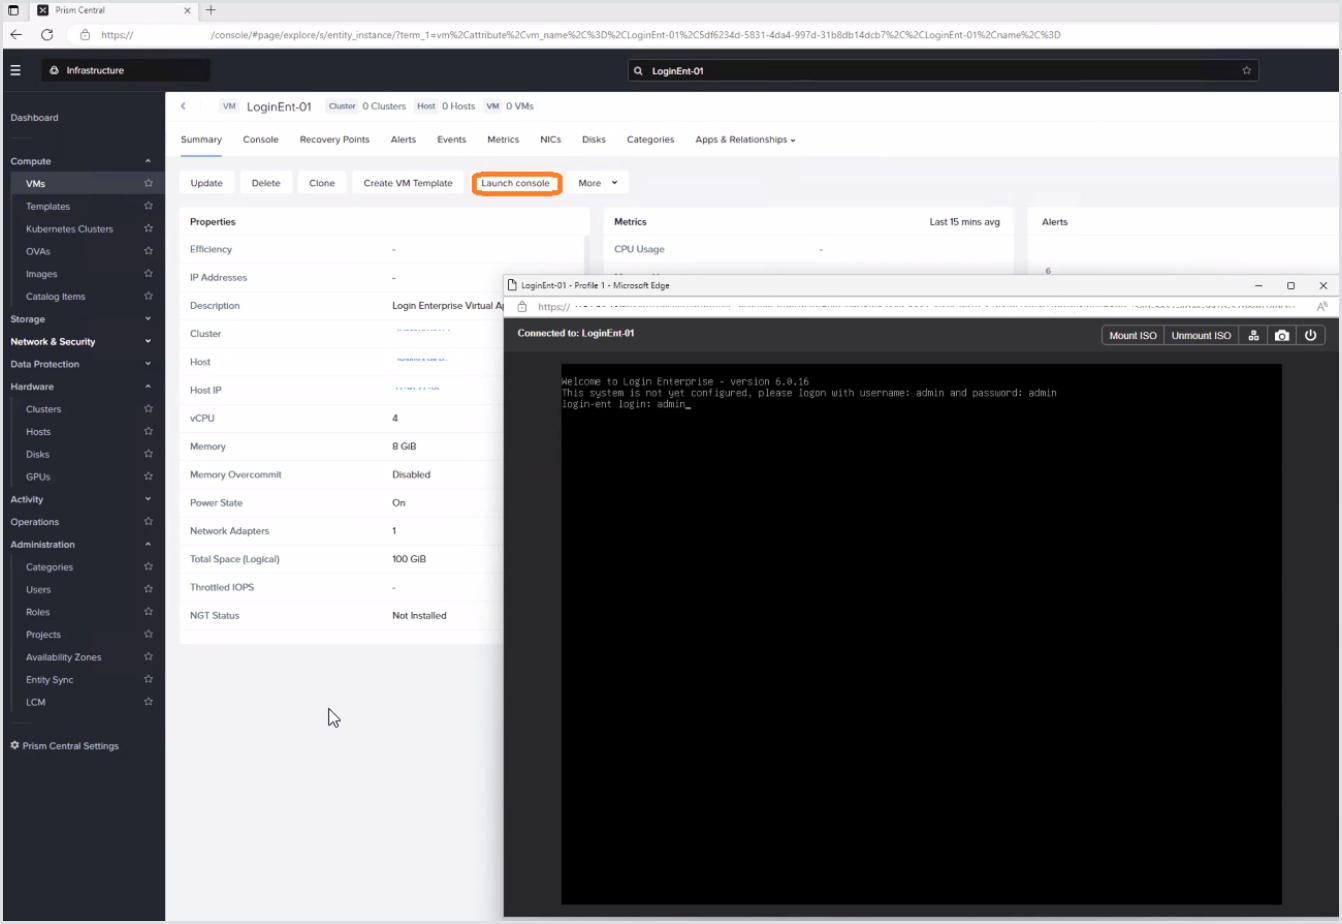
11. Access the Console.
a. Select the VM, click Launch Console.
b. Verify that the Login Enterprise setup interface appears.
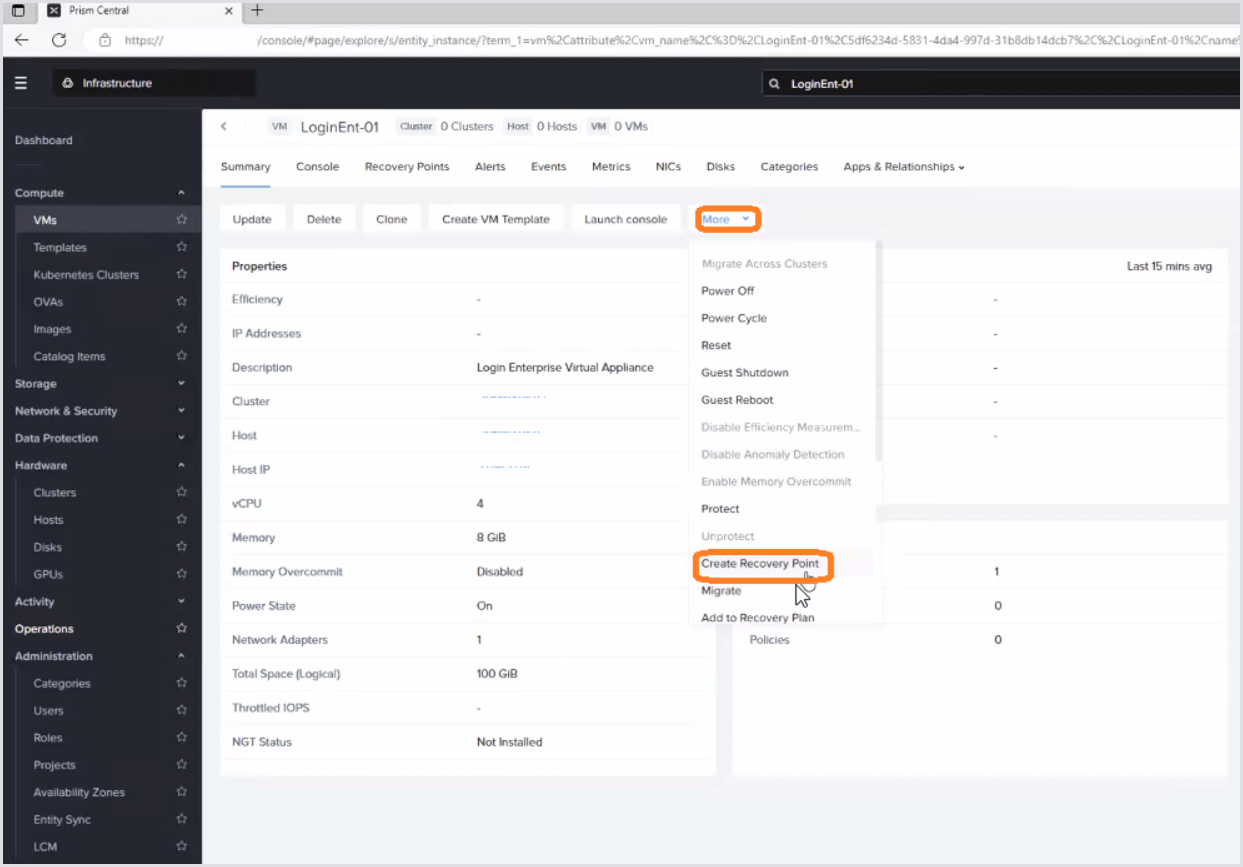
12. (Best Practice).
After initial setup, and before/after any Login Enterprise upgrades or maintenance, create a Nutanix recovery point via the VMs > [Your VM] > More > Create Recovery Point.
Conclusion
Once the appliance is running, you can begin configuring Login Enterprise tests directly within your Nutanix-hosted VM, leveraging both platforms for seamless performance monitoring and automation.
For next steps, see the Initial Appliance Configuration.