Overview
Starting in v1.2, Hydra can create Host Pools, Workspaces, and Application Groups. This allows AVD administrators to create all of the foundational constructs for an AVD deployment within the Hydra portal and not have to jump back and forth between the Azure and Hydra portals.
Terminology
First, it is important to understand the terminology behind the various components and how they interoperate. Specifically, Host Pools, Application Groups, and Workspaces. Microsoft defines these in their documentation.
Icon Legend
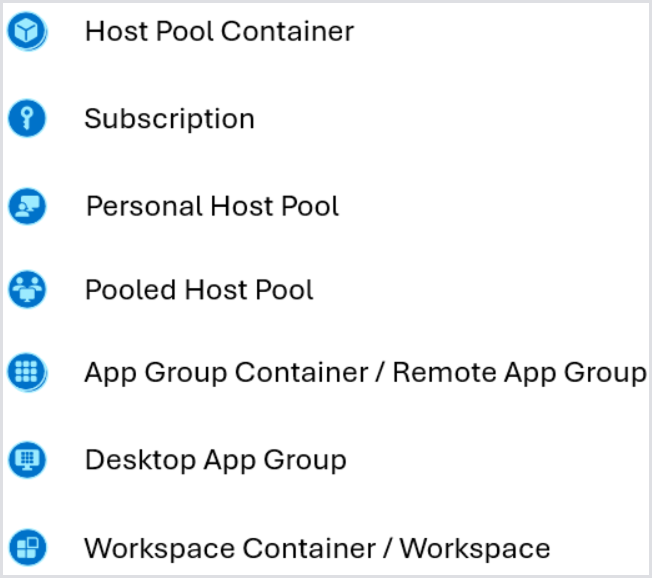
See below for the various icons and what they represent. This will make it easier to understand the tree menu while navigating, modifying, and creating the various resources:
Creating a Host Pool
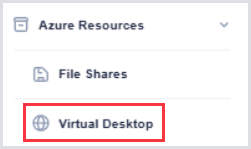
To create a host pool, navigate to Azure Resources > Virtual Desktop on the left-hand navigation menu.
You will notice two sections: Host Pools and Workspaces:

The majority of the configuration will be completed on the Host Pools section, while the Workspaces section will simply contain the association of App Groups to Workspaces.
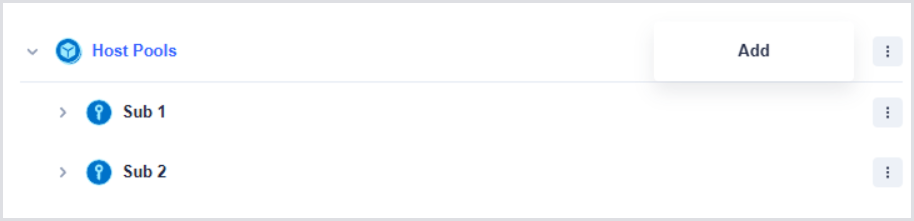
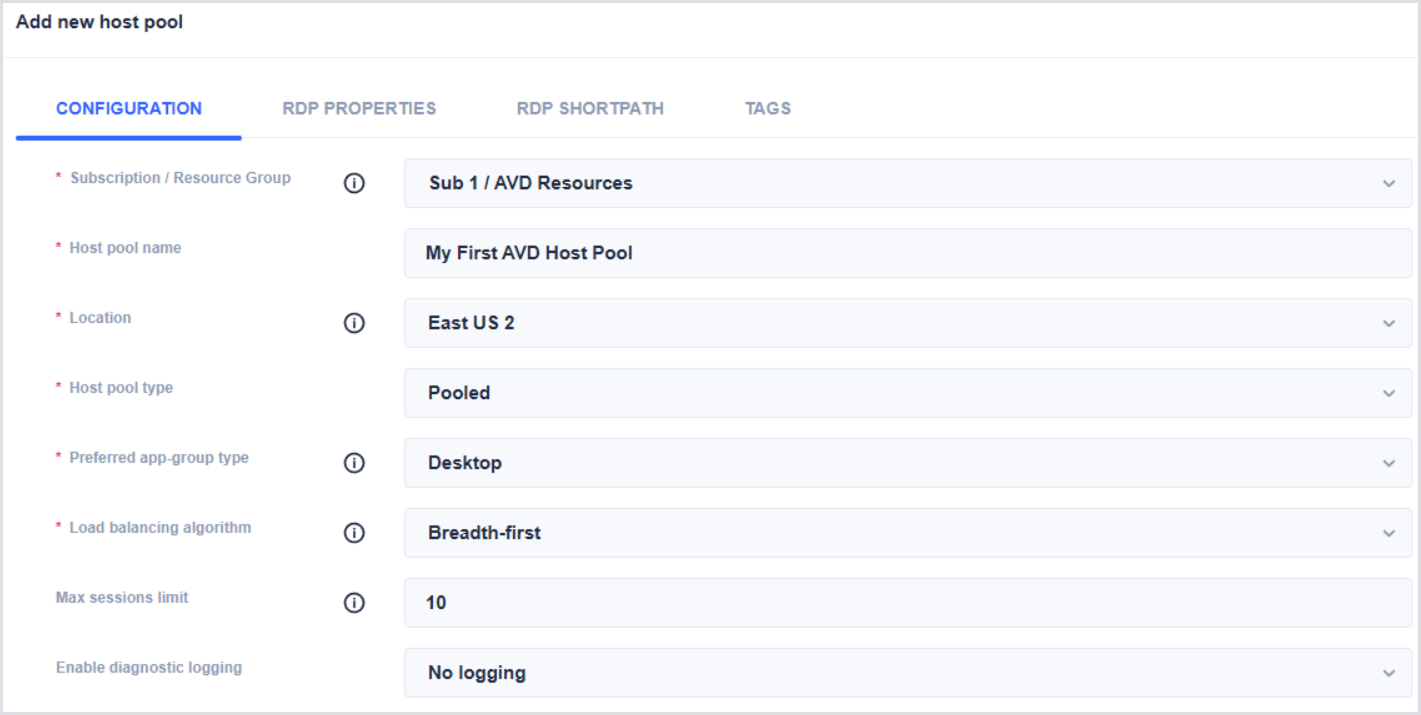
To get started, select either the Host Pools top-level container or the specific subscription and click Add to start the Add New Host Pool Wizard:
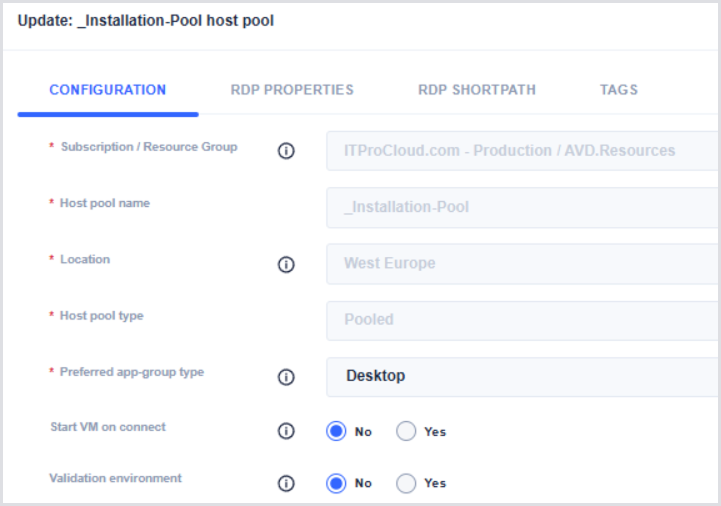
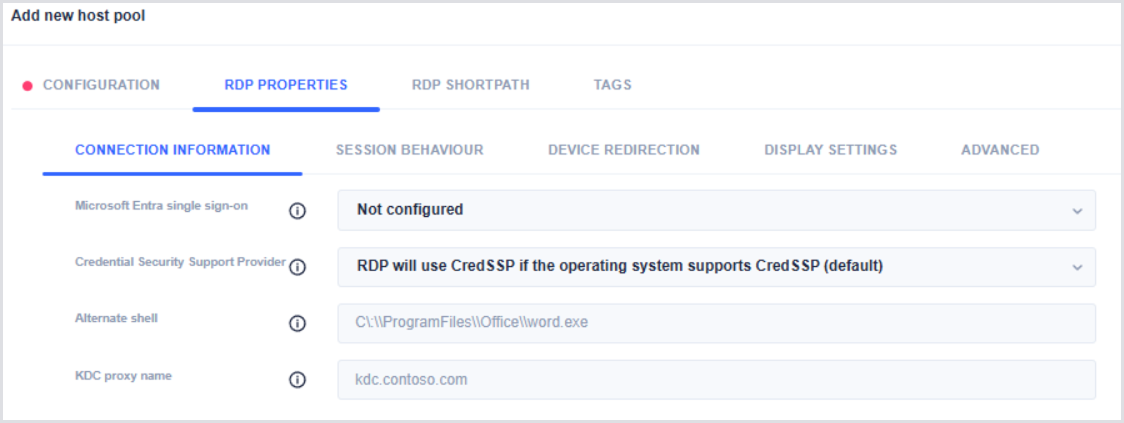
Fill out the various fields and configurations. Notice that even the RDP properties and configuration can be accomplished within the same wizard, streamlining the deployment compared to creating it via the Azure Portal. For more information, see the Microsoft Documentation.
Once the Host Pool is created, you will see it automatically populate underneath the Subscription.
Creating an Application Group
The next step is to create an Application Group under the Host Pool. To do this:
-
Expand the Host Pool and select the App Groups container underneath.

-
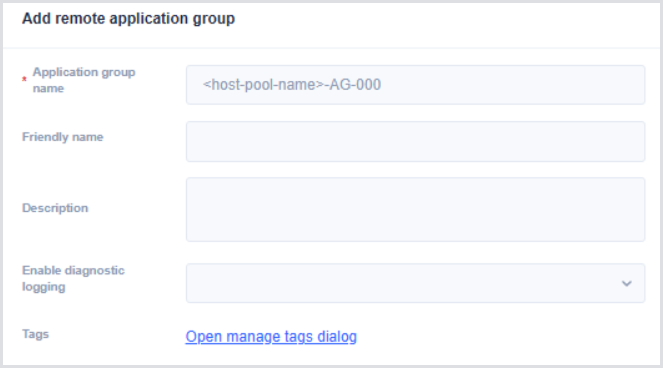
Select the appropriate App Group you wish to create, depending on whether you are delivering Published/Remote Apps or full desktops. This will trigger the Add Remote Application Group Wizard:
Adding Remote Apps to an Application Group
If the Application Group supports Remote Apps, you can then add Remote Apps and their respective configuration. Select the RA-enabled Application Group, and select one of the two options:
-
Add app from start menu: Queries the session host for apps present in the Start Menu. Note that at least one session host must be online for this to function. This allows for many of the various properties, such as the executable path, to be prepopulated.
-
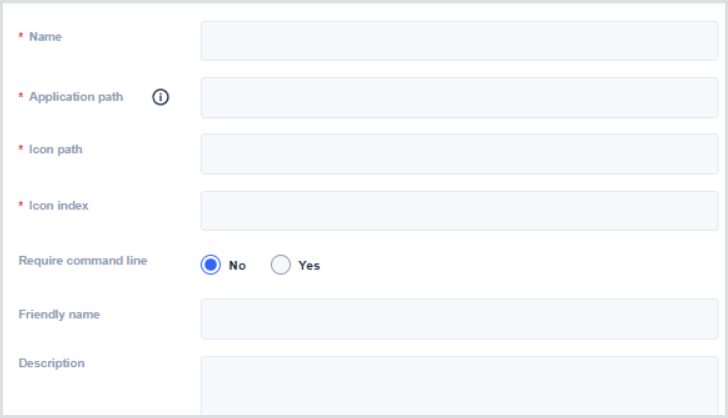
Add app manually: Manually add the Remote App by inputting these various properties, as defined in the Microsoft documentation:
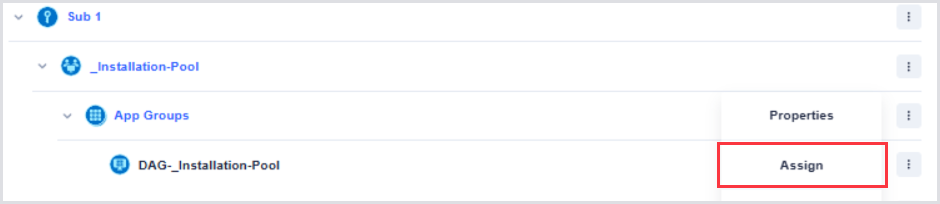
Assigning an Application Group
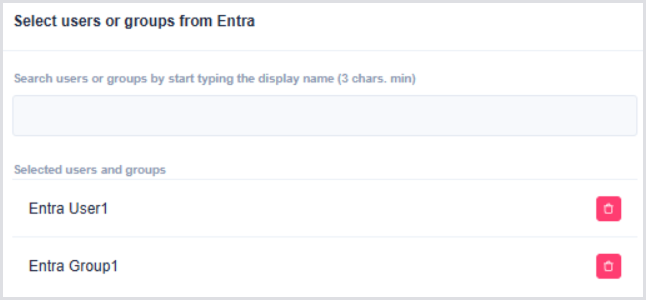
Before users can see the desktops or remote apps presented, they must be entitled to them. Use the Assign button next to the Application Group to entitle the appropriate users or groups:
Notice that you also have the ability to unassign users within this window:
Creating a Workspace
Application Groups must also be associated with a Workspace for users to access them. A Workspace is a logical container within the Windows App or Remote Desktop app to organize and group the various apps and desktops for the user.
To create a Workspace:
-
Select the top-level Workspaces container or Subscription in the Workspaces section, typically on the far-right side, and click Add:

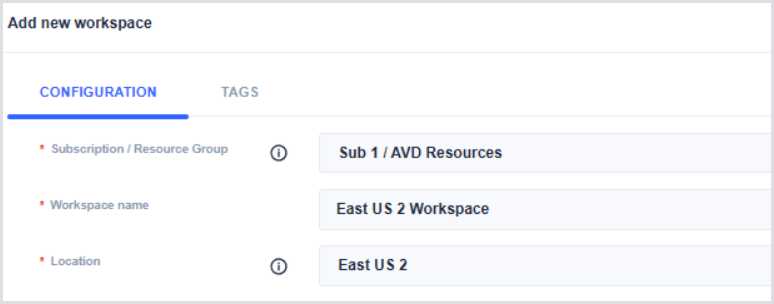
-
Input the Subscription / Resource Group, the Workspace name, Location, and optional tags, and select Add.
Associate an Application Group with a Workspace
To associate or link an Application Group with a Workspace:
-
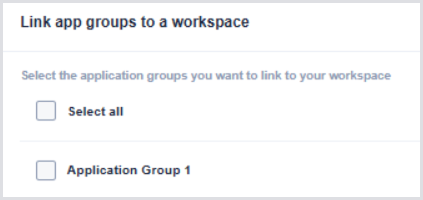
Select the Workspace and click Link application group:
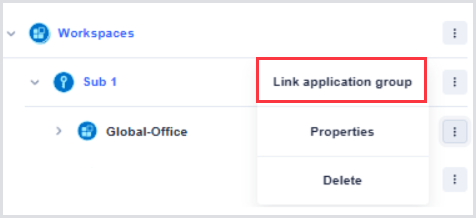
A list of unassociated Application Groups will appear.
-
Select all of the Application Groups you wish to link to this Workspace, and click Save.
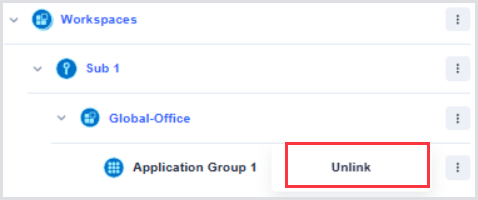
-
To unlink the Application Group, select the Application Group and click Unlink:
Modifying Existing Properties
If you wish to modify the existing objects after creation, select the Host Pool, App Group, or Workspace, and click Properties. Note that some fields cannot be edited due to Azure limitations.