
Overview
UI Inspector is a tool that helps you identify and inspect UI elements in Windows applications. It can be viewed as a newer generation of Application X-Ray, while Application X-Ray remains available for existing use cases.
UI Inspector generates code snippets for selected UI elements/actions, not a full recorded workflow. You can use these code snippets to build or update WinApp scripts. The generated code is supported only for the WinApp script base and is not compatible with Playwright and Selenium scripts.
Note: UI Inspector is a preview feature.
When to Use UI Inspector
Use UI Inspector when you need to inspect a specific UI element in a Windows application and generate a WinApp script code snippet for that element. This is useful when a recorded workload does not play back as expected, when a UI element is not detected reliably, or when an application update changes a button, field, pane, or other control used by an existing script.
For example, you can open the application manually at the point where the script fails, use UI Inspector to inspect the target element, adjust the element chain or properties, test the selected findBy method, and then copy the generated code snippet into the relevant part of the WinApp script.
UI Inspector can also help you choose between XPath-based detection and information-based detection. XPath detection is often faster and more specific when it works reliably. Information-based detection can be easier to read and adjust, but may take longer. The default option, XPath with find element by information as a fallback, provides a balance between speed and resilience.
Starting UI Inspector
-
Click UI Inspector from the top of the Script Editor menu. The option is located at the far right of the menu. UI Inspector is only available for WinApp scripts and is hidden for Playwright and Selenium scripts.

-
The UI Inspector window opens. Note that at this step, inspection mode is disabled.
Inspecting a UI Element
-
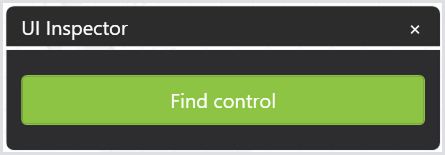
In the UI Inspector window, click Find Control:
-
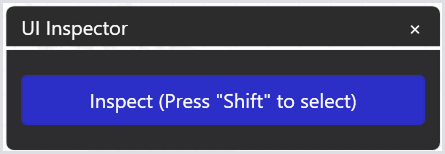
The button changes to Inspect (Press “Shift” to select), indicating that inspection mode is enabled.
-
Move the pointer over the UI element that you want to inspect. As you move the pointer, UI Inspector highlights the UI element currently under the pointer.
-
An orange border indicates that UI Inspector is locating the element.
-
A green border indicates that the element is ready to be selected.
-
-
Press Shift to select the highlighted UI element. UI Inspector will display the results of the selected UI element.
UI Inspector Results
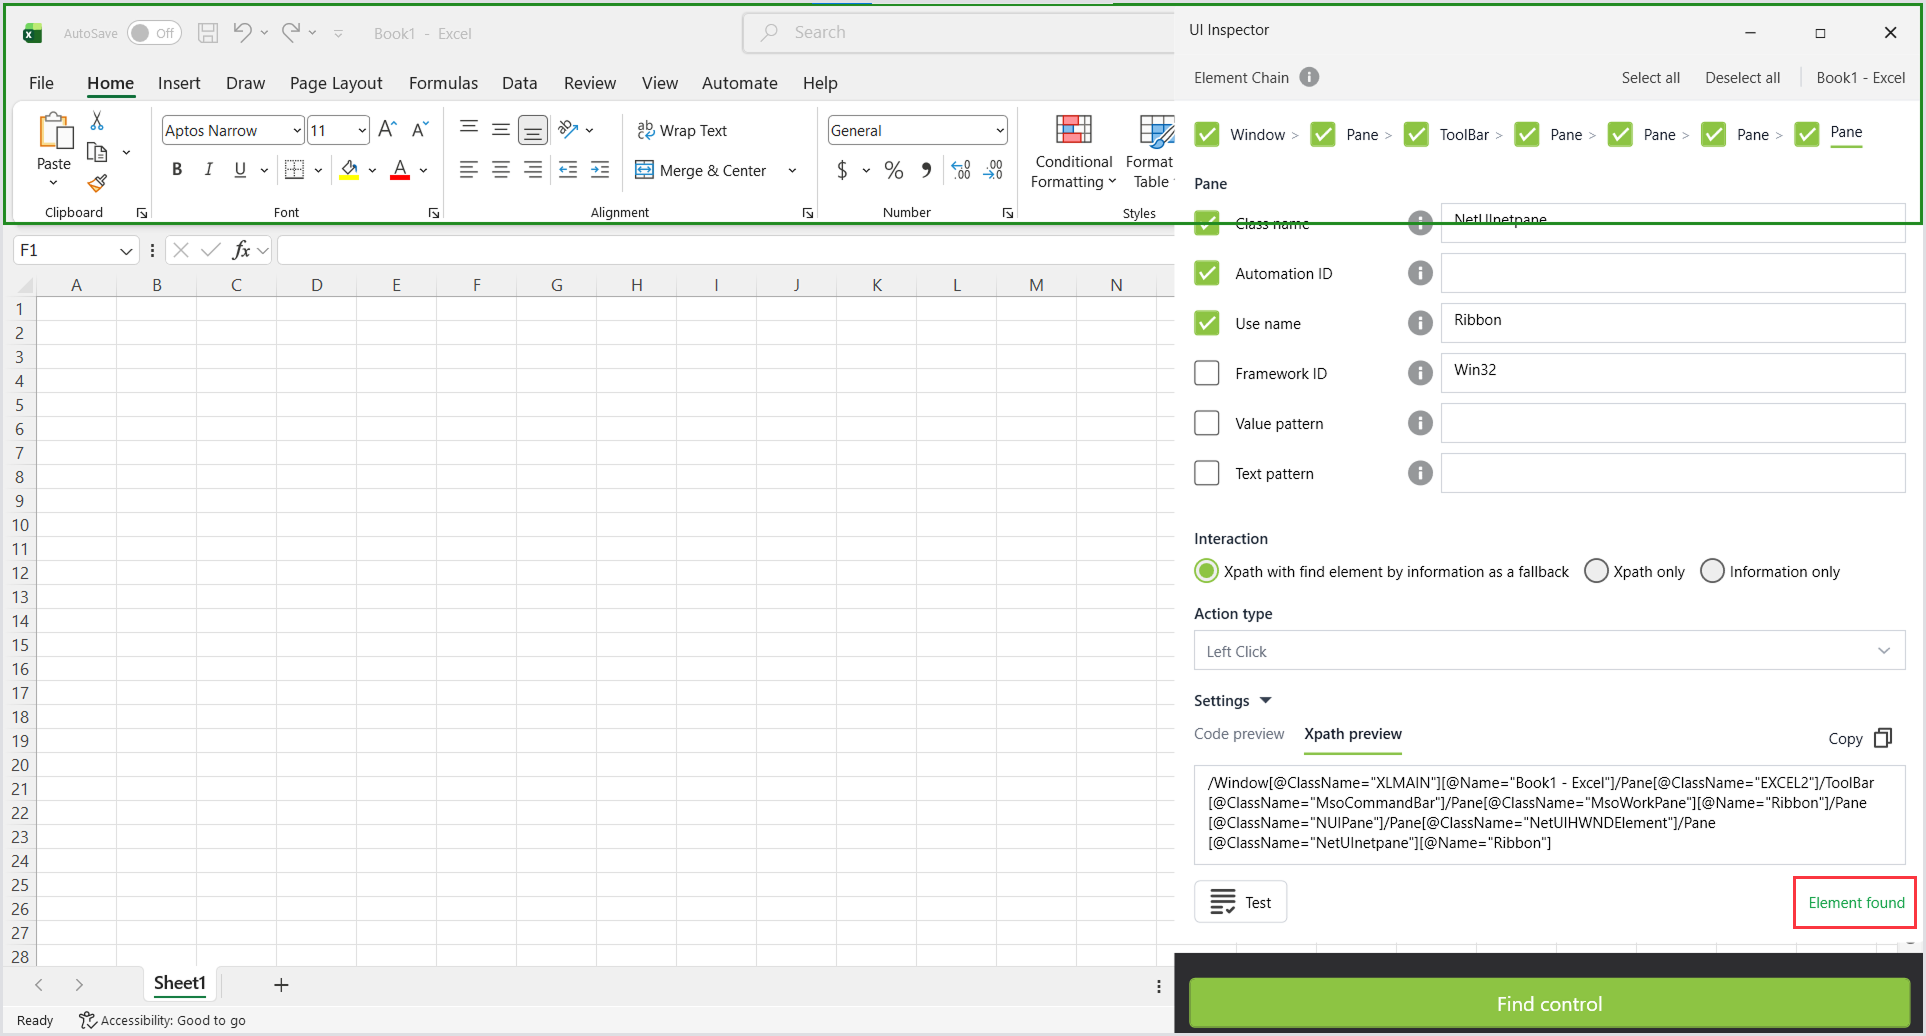
After inspecting a UI element, the Inspector Result window displays the detected element structure, interaction options, and generated automation output, such as code and XPath.
The window is divided into several sections.
.png?cb=adfe88ef19d3c0b9e6dc4806212474d3)
Element Chain
This section defines how the XPath is constructed. By default, all elements in the chain are selected.
Note: You can uncheck individual items to exclude them from the XPath generation. This can help handle dynamic UI structures.
However, excluding elements from XPath generation may affect detection performance or reliability.

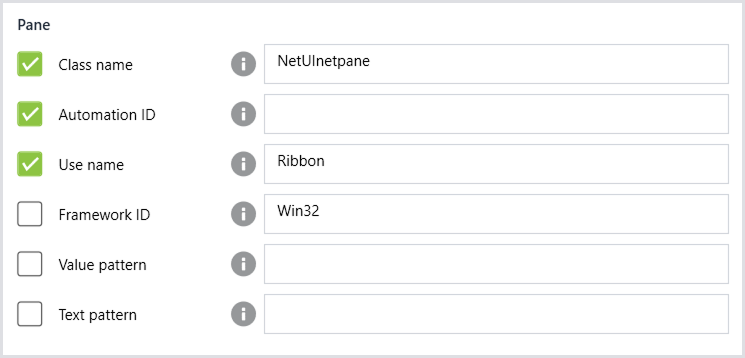
Pane (Chain Details)
This section displays detailed information for the selected elements in the chain. By default, the last element in the chain is selected. You can modify parameters of an item in the chain.
Interaction
This section defines which method and action type you want to use. The following action types are available:
|
Action |
Description |
|---|---|
|
Left Click |
Performs a standard click action. |
|
Right Click |
Performs a right-click action. |
|
Double Click |
Performs a double-click action. |
The selected action is reflected in the generated code preview.
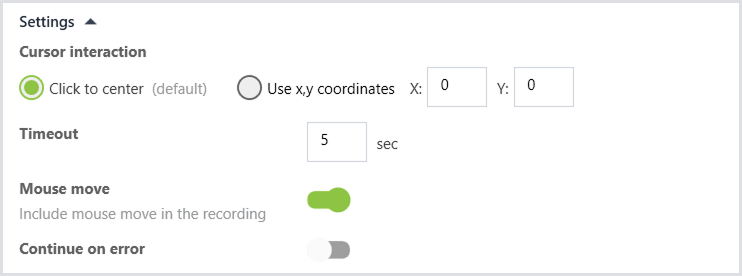
Settings
The section is hidden by default and can be expanded. Use it to configure additional options that influence the generated code preview.
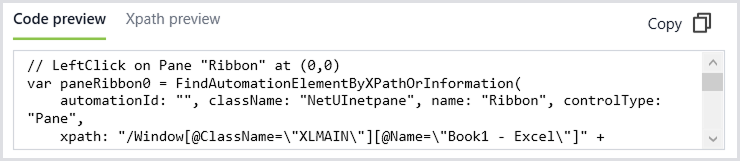
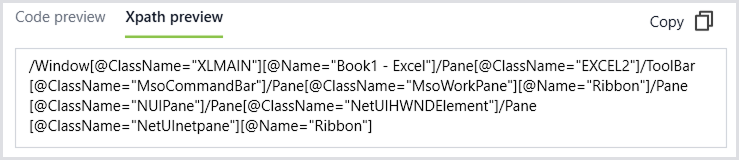
Code Preview and XPath Preview
This section shows the generated output based on the selected chain and interaction settings.
|
Preview Type |
Description |
|---|---|
|
Code Preview |
Full script/code snippet of the UI element. Ready to copy and paste into a script. |
|
XPath Preview |
Raw XPath expression of the UI element. Not standalone code. Use it within the full generated code snippet. |
Test Button
The Test button validates the selected findBy method. It only tests element detection (findBy logic). It does not execute the interaction (e.g., click).
Note: The target application must be open. The inspected element must be visible in the UI.
Find Control Button
This button clears all current inspection data and initiates a new UI element inspection.