Overview
Application X-Ray helps you identify UI components in an application and generates ready-to-use code examples for interacting with them. It's included with every Login Enterprise installation as part of the Script Editor ZIP package. To use Application X-Ray, download and install the Script Editor.
This demonstration shows how to use the Script Editor, with a focus on Application X-Ray, to inspect application components and build automation workflows.
Downloading and Installing Script Editor
For details, see a section of the same name in the Script Editor documentation.
Starting the Application X-Ray
Once you’ve downloaded and installed the Script Editor, you can access the Application X-Ray from the Script Editor top menu:

Win32 Application
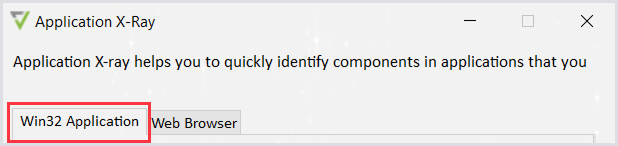
By default, the Application X-Ray opens on the Win32 Application tab:
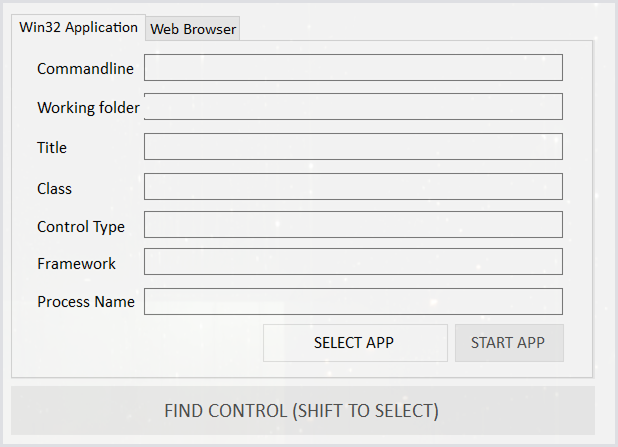
The main section includes the following:
|
Field |
Description |
|---|---|
|
Commandline |
Defines the executable file location. You can pre-define the location of the executable, working folder, and title of the application you wish to start. Alternatively, you can start the application yourself, and Application X-Ray will auto-fill this information once activated. |
|
Working folder |
Specifies the folder where the file can be found. |
|
Title |
Specifies the window title associated with the element. |
|
Class |
Specifies the Win32 class name of the element. |
|
Control Type |
Specifies the control type of the UI element. |
|
Framework |
Specifies the UI automation framework used by the application. |
|
Process Name |
Displays the name and ID of the process associated with the window/application. |
Other functionality includes:
|
Option |
Description |
|---|---|
|
Select App |
Selects the application for use. |
|
Deselect App |
Deselects the application, allowing you to choose a new one. |
|
Start app |
Launches the application using Application X-Ray. |
|
Find Control |
Initiates the search for objects. Press Shift to stop searching and lock onto the identified object. After locating an object and pressing Shift, the Control Information section of X-Ray will lock to that control in its current state. For example, if the type of the control changes, this will affect the code example (specifically the type), but it will not impact the Control Information. |
Control Information
In applications, controls typically include text fields, buttons, table fields, and other elements that comprise the user interface. The items displayed are:
|
Field |
Description |
|---|---|
|
Control Type |
Specifies the control type of the UI element. |
|
Framework |
Specifies the UI automation framework used by the application. |
|
Class |
Specifies the Win32 class name of the element. |
|
Title |
Specifies the window title associated with the element. |
|
Text |
Specifies the visible text of the element. |
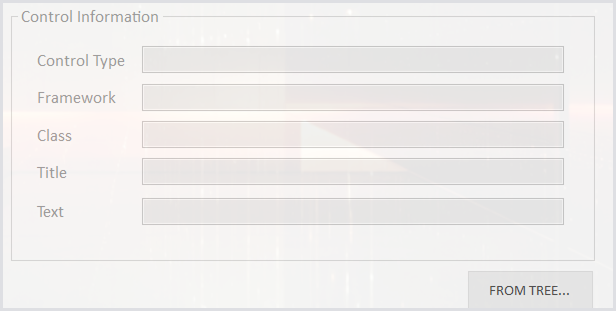
The From Tree button appears when a control within an application is selected. Clicking it opens a new window displaying the complete process/object tree of the application. This feature is useful when certain buttons cannot be located by hovering over them, but can still be identified within the application.
You can browse through the list to find your preferred object. The selected object will be highlighted in the application for easy identification. Once you locate the desired object, click Select to use it in Application X-Ray.
Interaction
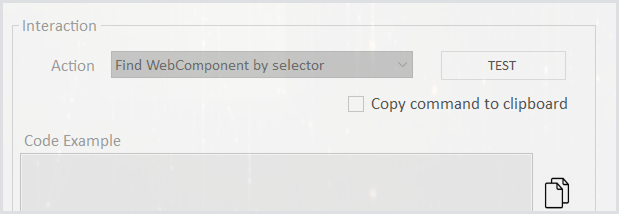
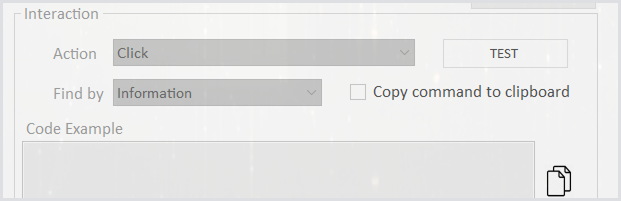
This section allows you to define, test, and copy the selected command for use in your script.
|
Option |
Description |
|---|---|
|
Action |
Selects the preferred action. For more information on available functions, see the Scripting Functions Overview. |
|
Find by |
Selects the locator strategy to identify a UI element. |
|
Test |
Executes the selected action on the chosen window/control with the corresponding defined action. |
|
Copy command to clipboard |
Enables automatic copying of all executed actions to the clipboard so you can paste the entire sequence at once. |
|
Code Example |
Displays the code string, which is a combination of the preferred action and the selected object. |
Web Browser
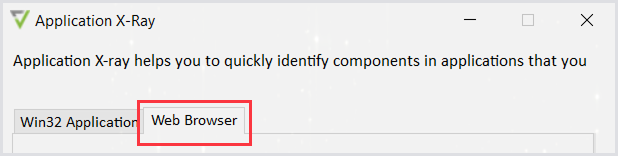
In the Application X-Ray window, click on the Web Browser tab:
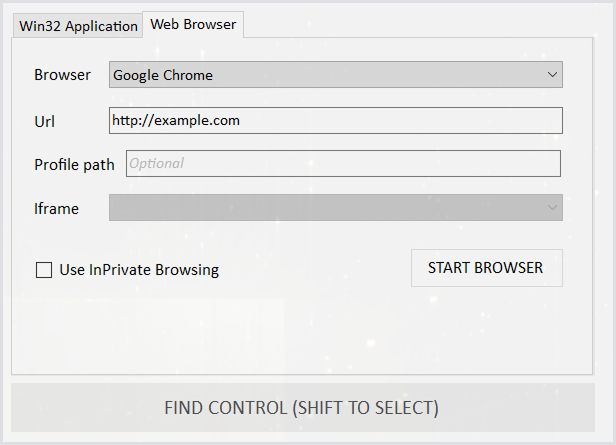
The main section of the Browser tab includes the following:
|
Field |
Description |
|---|---|
|
Browser |
Specifies the browser and version to use. |
|
URL |
Specifies the URL to connect to. |
|
Profile path |
Specifies the path to the browser profile to use. |
|
iFrame |
Specifies the iframe that contains the target web element. |
Other functionality includes:
|
Option |
Description |
|---|---|
|
Use InPrivate Browsing |
Enables InPrivate browsing mode when starting the web browser. |
|
Start Browser |
Launches the browser with the specified URL. |
|
Find Control |
Initiates the search for objects. Press Shift to stop searching and lock onto the identified object. After locating an object and pressing Shift, the Control Information section of X-Ray will lock to that control in its current state. For example, if the type of the control changes, this will affect the code example (specifically the type), but it will not impact the Control Information. |
Control Information
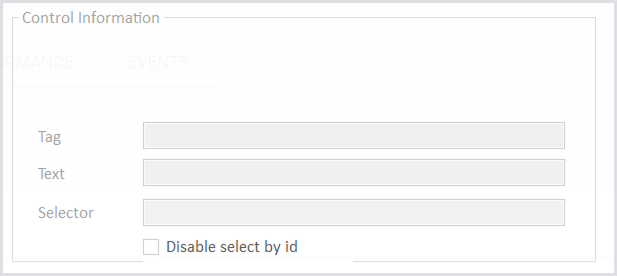
This section describes the selected control on the website, such as a button or text field.
|
Field |
Description |
|---|---|
|
Tag |
The HTML tag of the selected control. |
|
Text |
The display text of the selected control. |
|
Selector |
The CSS selector for the selected control. |
Interaction
This section allows you to define, test, and copy the selected command for use in your script.
|
Option |
Description |
|---|---|
|
Action |
Specifies the action. For more information on available functions, see the Scripting Functions Overview. |
|
Test |
Executes the selected action on the chosen window/control with the corresponding defined action. |
|
Copy command to clipboard |
Enables automatic copying of all executed actions to the clipboard so you can paste the entire sequence at once. |
|
Code Example |
Displays the code string, which is a combination of the preferred action and the selected object. |