Overview
Script Collections in Hydra provide a centralized way to organize, manage, and execute scripts across your environments. Instead of attaching individual scripts to each workflow or resource, collections allow you to group scripts and actions and reuse them consistently at scale.
A Script Collection can contain one or more scripts designed for a specific purpose, such as application installation, system configuration, optimization, or cleanup. With over 40 actions to choose, Script Collections enable you to create very powerful task sequences, resulting in streamlined image creations and new session host rollouts.
Creating a Script Collection
-
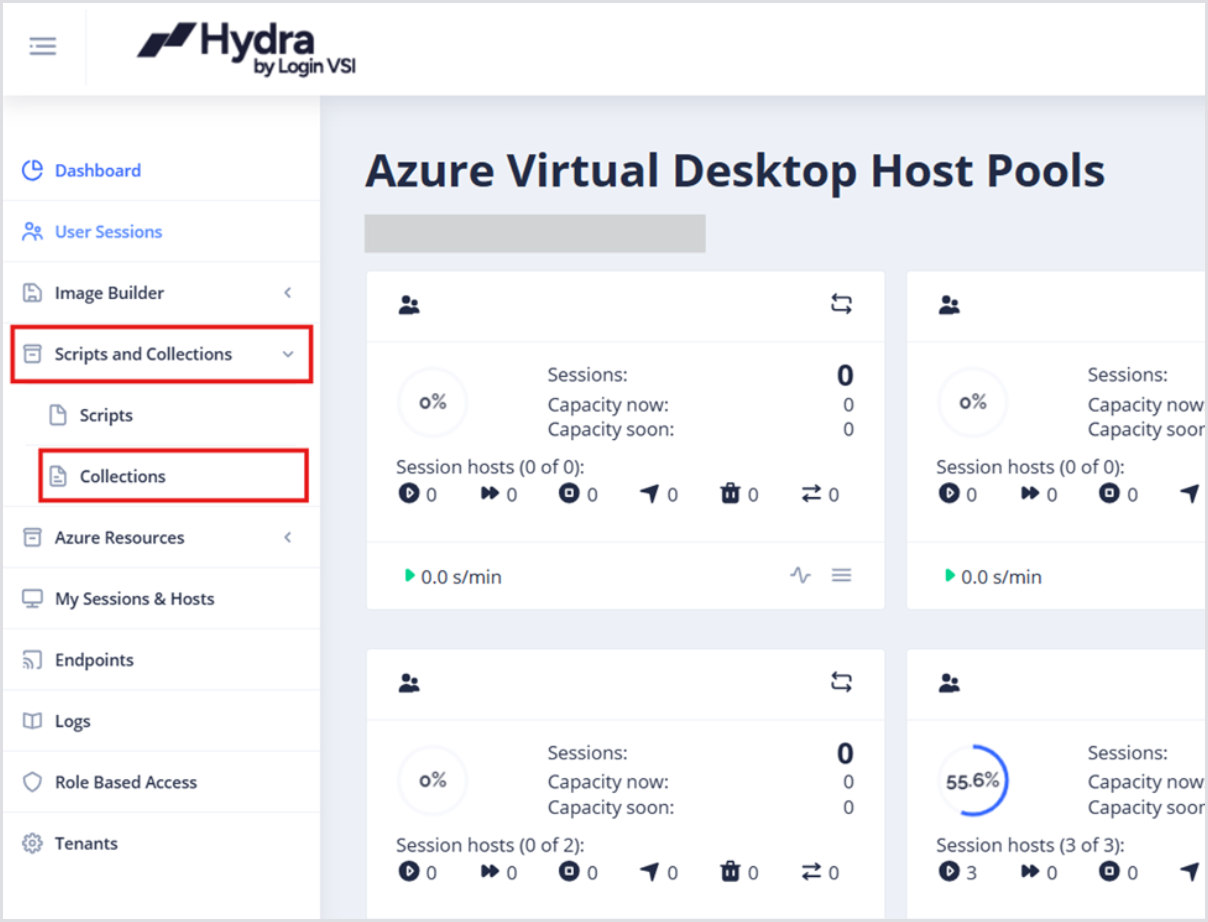
In the left-side menu from the main Dashboard, click Scripts and Collections and then Collections.
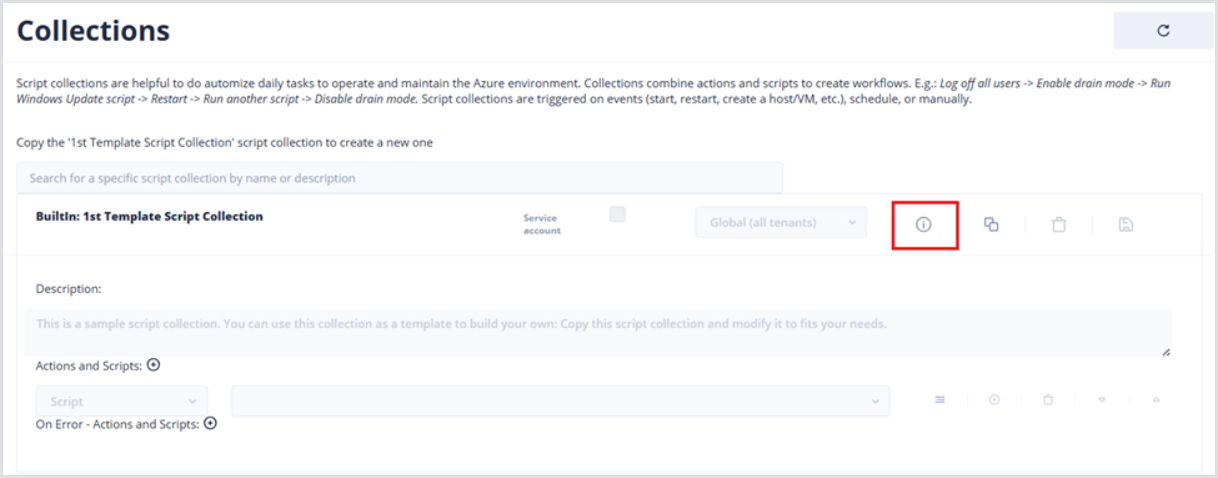
Hydra has several built-in Collections ready for use. For example, Collections that can Install Windows Updates.

-
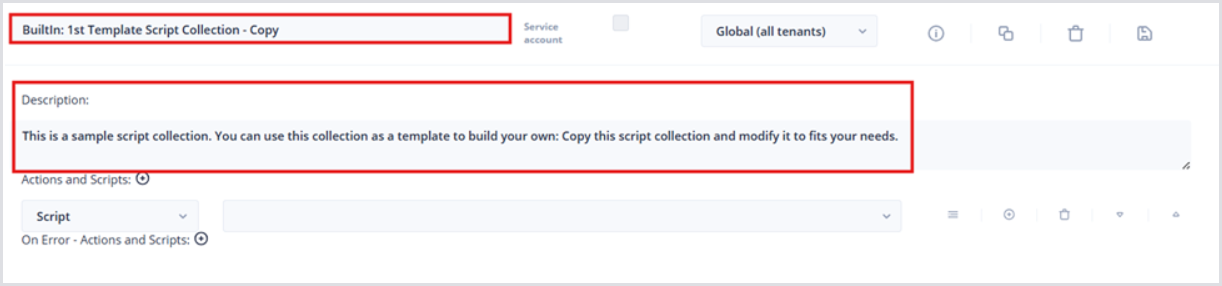
Click the Show Details button to open the Code pane and review the 1st Template Script Collection. This is meant to be cloned and modified, so there isn’t much information here.
-
After reviewing, click the Copy Script Collection button.
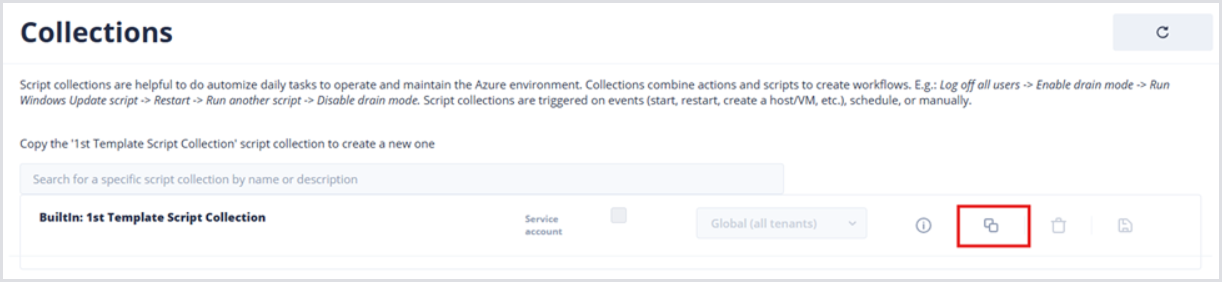
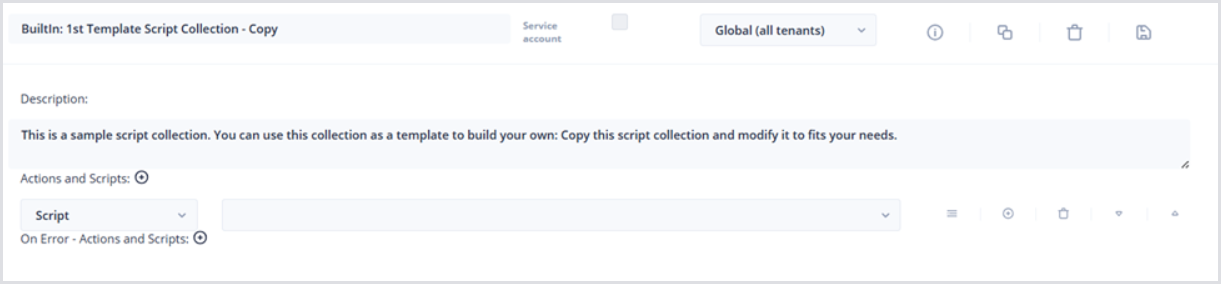
By default, the name of the cloned script will be Builtin: 1st Template Script – Copy. Also, the Script Collection will be added to the bottom of the table.
-
Click the Collection name, e.g., Builtin: 1st Template Script Collection – Copy, and input the desired name. The Collections table has a search bar, so consider using a naming convention to group scripts based on what they do, or where they run.
-
Optionally, add a Description with an overview of the Collection’s purpose, workflow, and error-handling.
-
Modifying a Script Collection
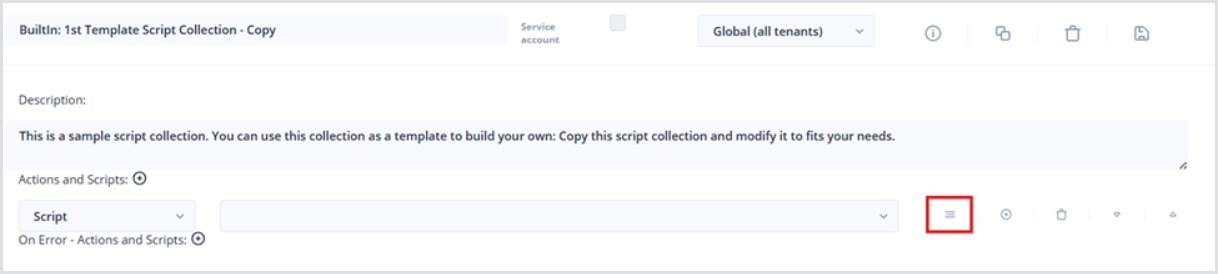
Once a Collection has been cloned, there is an inevitable configuration. For each added Action in the Collection, there are a few options:
-
Click the Show details button to open the Parameters field:
-
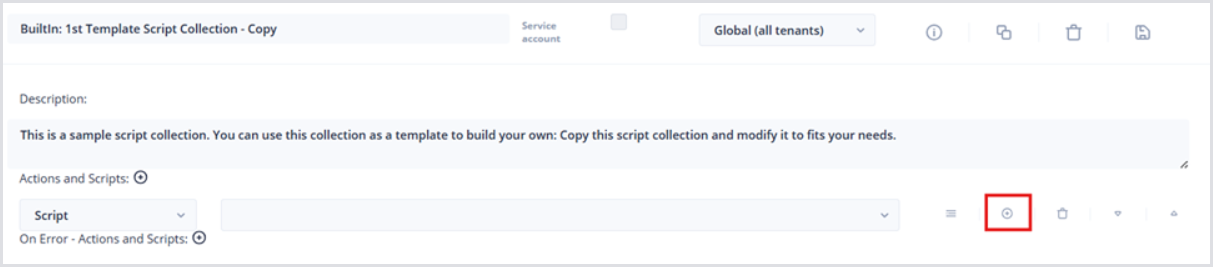
Click the Add button to add a new script or action.
-
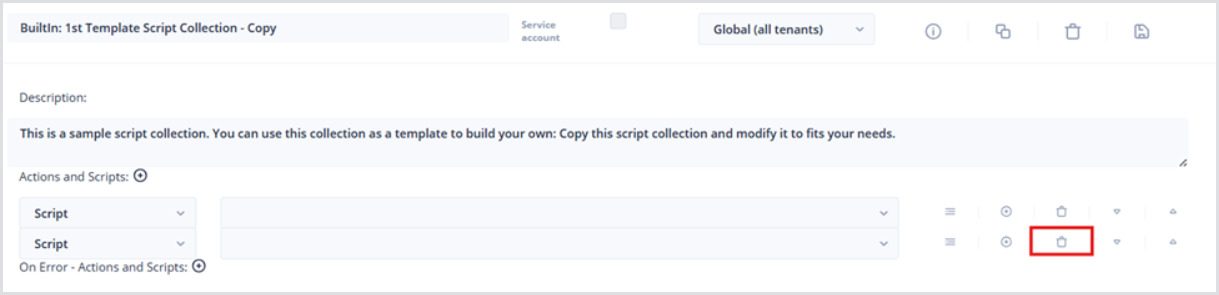
Click the Delete button of a given step to remove that step.
-
Click the Down (or Up) arrow to move a step down (Up) in the sequence.
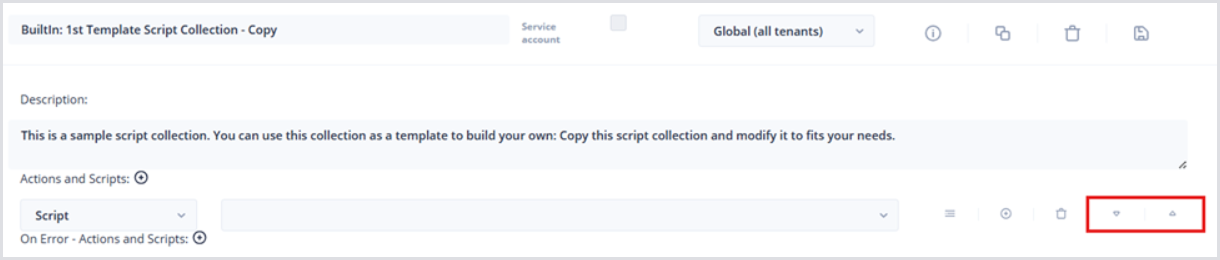
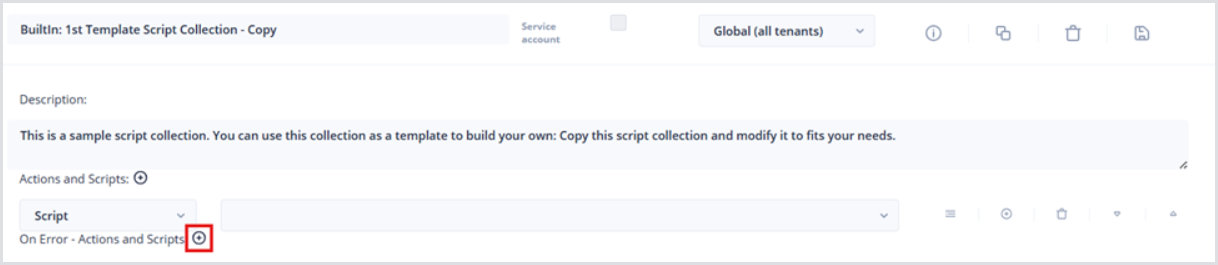
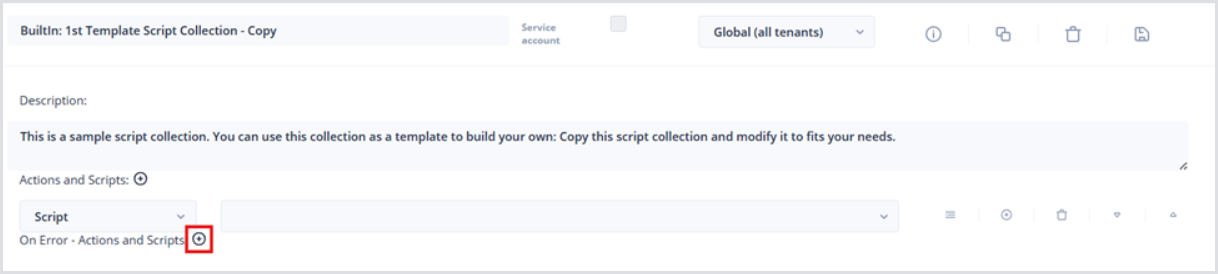
Performing Action on Script Collection Error
Hydra has built-in error handling for Script Collections. To configure an Action or Script to trigger On Error:
-
Underneath the Actions and Scripts section of the Collection, find the On Error – Actions and Scripts section
-
Click the Add button.
-
Choose an appropriate Action or Script to execute On Error. Here are a few built-in examples: Run a Custom or Built-in Script, VM – Start, VM – Deallocate, VM – Delete.
Below is a basic example of the Script Collection configuration:
Parameters
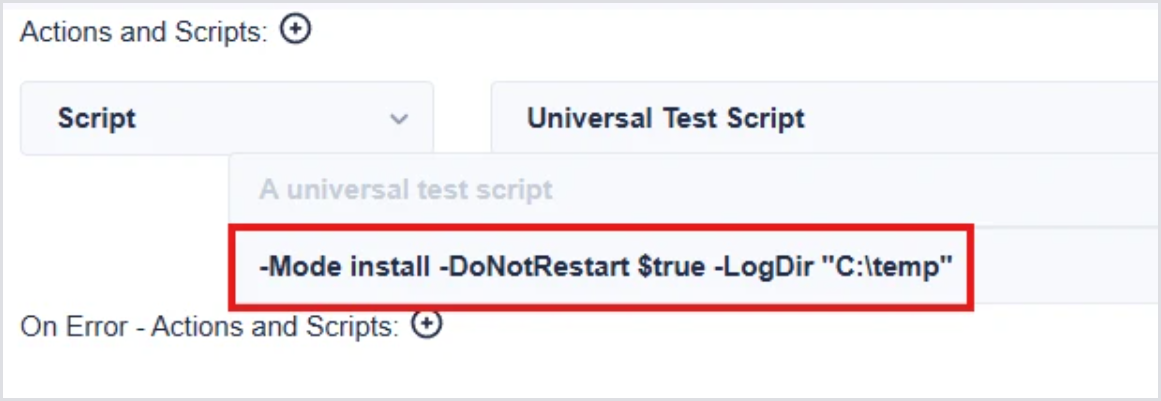
Certain Script Collection actions have special parameters that can be utilized, and some even require them. For example, the VM Disk - Resize action requires a resize amount to be specified. Select the first icon on the right side to show the Parameters text box, and then specify the parameter:

Scripts can also utilize these parameters. This can be useful to maintain the same parent script, but then utilize different Script Collections for parameter adjustments. You would simply add a param section at the top of the PowerShell script with the data type, like below:
param(

  [string] $Mode,

  [bool] $DoNotRestart = $false,

  [string] $LogDir = "$env:windir\system32\logfiles"

)
In the Parameters box for the Script action in the Script Collection, you can then specify the parameters:
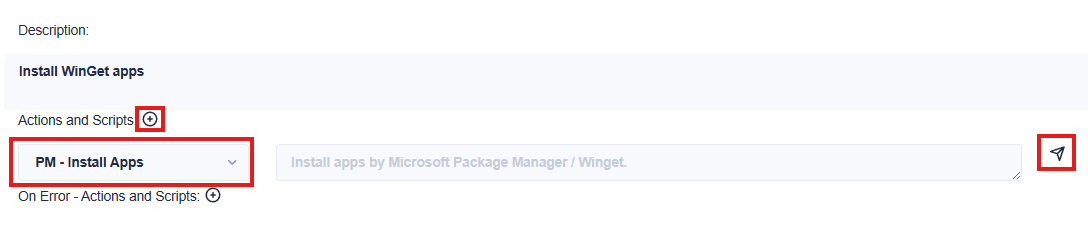
Installing WinGet Applications
Hydra enables applications to be installed directly through WinGet, or Windows Package Manager. This negates the need to utilize a PowerShell script for installing applications available through WinGet. To add WinGet application installs to a Script Collection, choose the PM - Install Apps action and select the Select Packages button, represented by the paper plane icon:
Accept the terms and search for any packages you wish to install via WinGet. The selected packages will appear on the right and will install in top-down order. You can utilize the arrows to rearrange as necessary. Select OK to be taken back to the Script Collections page. Don’t forget to save your Script Collection once you are finished.
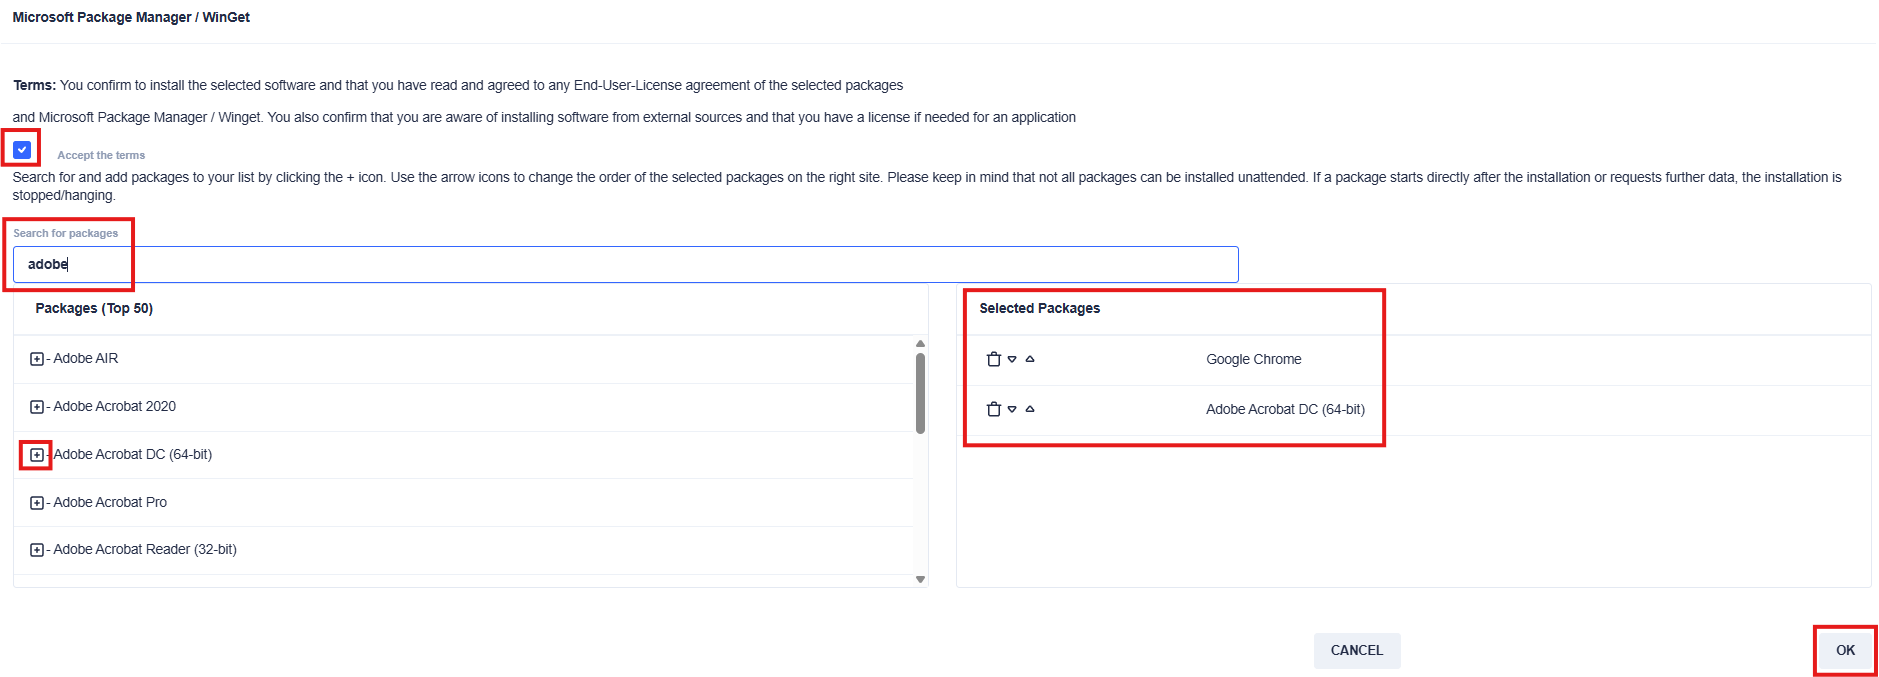
Don’t forget to save your Script Collection once you are finished.

Updating WinGet Applications
You can also add the PM - Update Apps action to update any applications available via WinGet. By default, all WinGet-compatible apps are updated. If you wish to selectively update the apps, select the Details button and type the comma-separate application IDs in the parameters field. Note the ID is different than the name.
