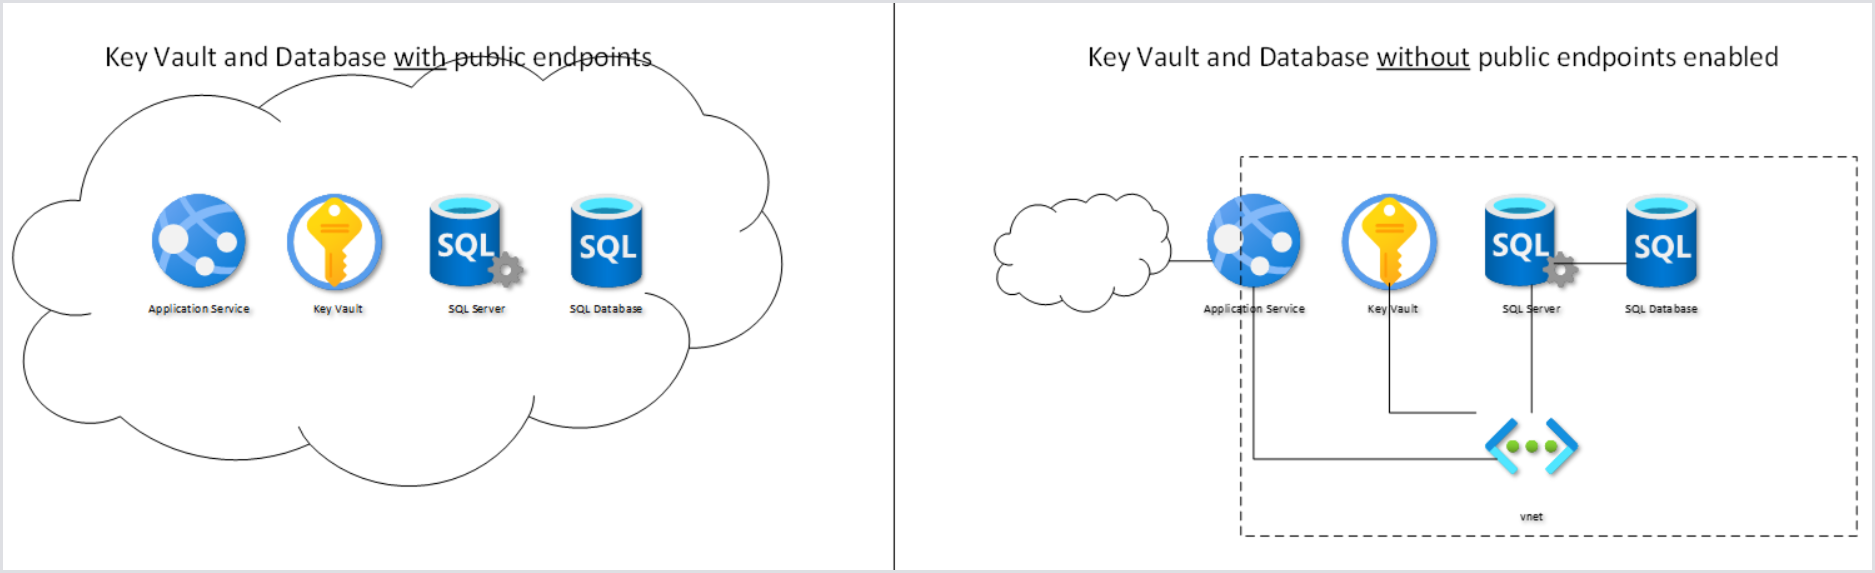
Using Private Endpoints
You can configure the Hydra installation to use private endpoints. By following this best practice, you can avoid exposing sensitive components such as your SQL Server and Key Vault to the internet. See How to Secure the Database and Key Vault of an App Service/Web App in Azure.
Example Private Endpoint Configuration
In this example, we will create a new Virtual Network (192.168.1.0/24 named nb-westus-vnet) with two subnets:
-
192.168.1.0/25 (default): will be used for the Private Endpoints.
-
192.168.128.0/25 (nb-subnet2): will be used for web app integration.
Tip: You can use an existing virtual network, but note that the second integration subnet must be completely empty.
-
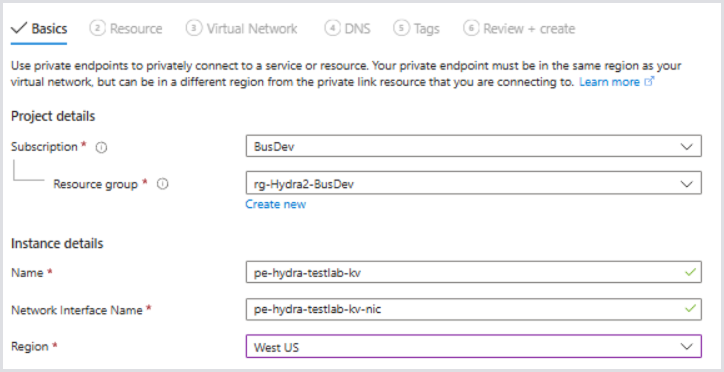
In the Key Vault, go to Settings > Networking > Private Endpoint Connections, and click Create.
-
In the Basics tab, select the Subscription and Resource Group you wish to associate the private endpoints with.
-
You can create a new Resource Group if desired, but you can simply choose the Resource Group Hydra, which is deployed.
-
-
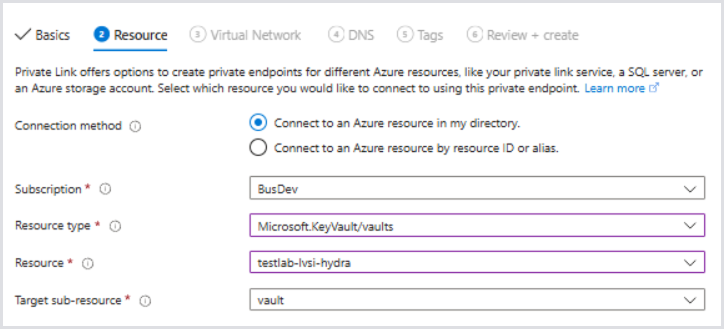
In the Resource tab, choose Microsoft.KeyVault/vaults for the Resource type.
-
For Resource, choose the Key Vault resource.
-
The Target sub-resource should be vault.
-
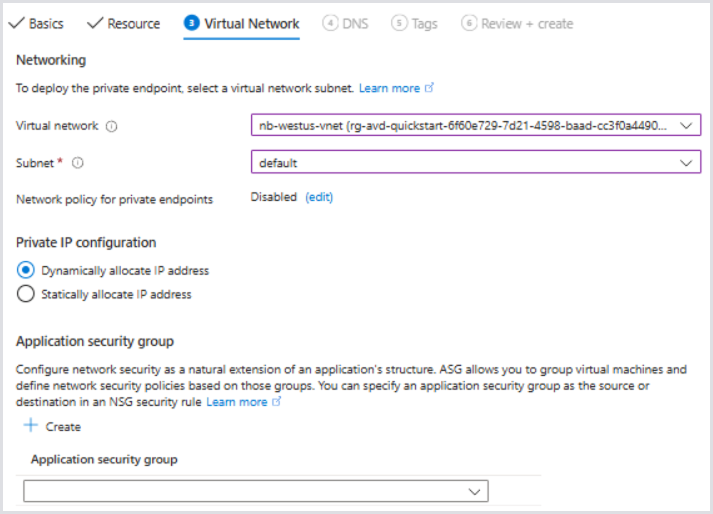
In the Virtual Network tab, select the Virtual Network you would like to associate with the private endpoint.
-
The Subnet in this case will be the first example subnet in the virtual network, 192.168.1.0/25, named default.
-
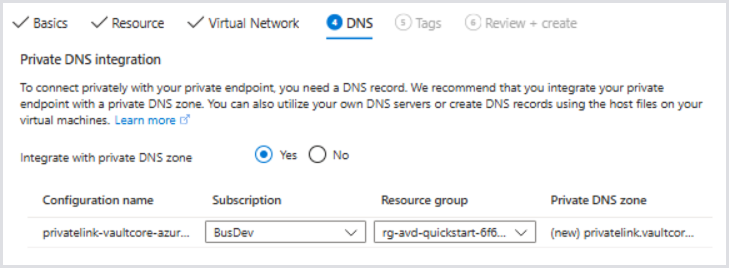
For DNS, it's best to create the private DNS integration with the default settings so that the app service can appropriately resolve the resource names to the private IP. Otherwise, ensure your DNS servers have the correct DNS record associated.
-
Set tags if necessary and review the configuration.
-
Click Create.
-
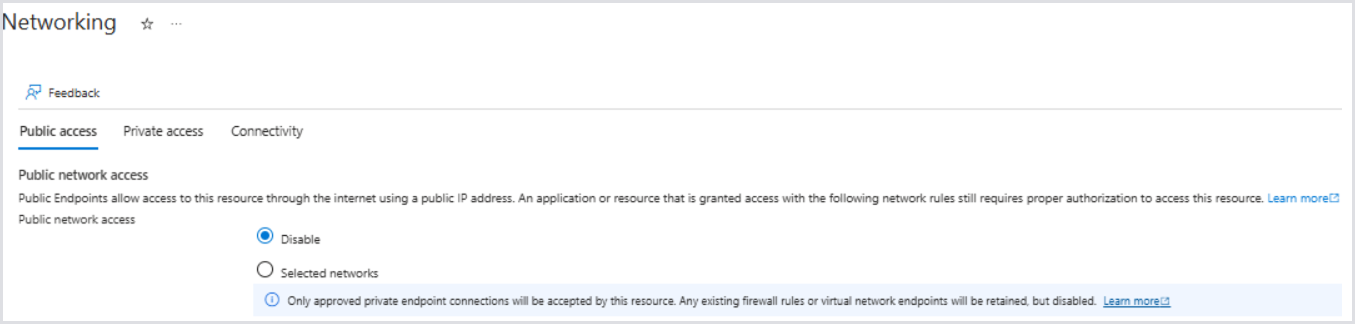
Back in the Key Vault's Networking configuration, allow access only from the Virtual Network. This will disable access to the Key Vault over the public internet.

At this point, the App Service will become unavailable at the next fetch of secrets or restart of app service. You will typically receive an HTTP 500.30 ANCM In-Process Start Failure when the Key Vault is inaccessible.
-
Next, choose the Hydra SQL Server and go to Security > Networking. Repeat similar steps from the Key Vault. The target sub-resource should be auto-configured to SQL Server in the Resource tab.
-
After creating the Private Endpoint, disable Public network access and click Save.
-
Navigate to the Hydra App Service > Settings > Networking.
-
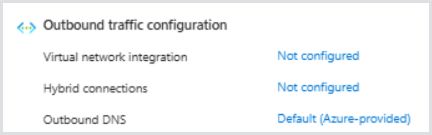
Review the Networking Configuration and notice that VNet integration is currently disabled for outbound access. Therefore, all outbound communication is across public networks, which we have effectively disabled access on both the SQL Server and Key Vaults.
-
Select the Virtual network integration > Not configured. Then, select Add virtual network integration.

-
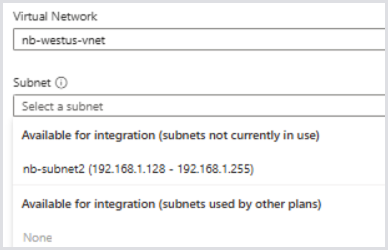
Select an existing subnet and choose the empty subnet we previously specified as our integration subnet. You can optionally create one here if there is unassociated address availability in the VNet.
-
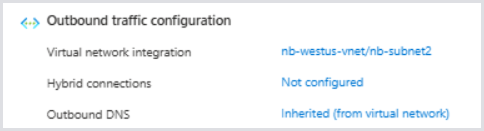
Click Save. Then, confirm the Virtual Network integration is in place:
-
Optionally, for inbound access, you can associate it with a private endpoint to only allow access internally, or you can further restrict which IPs can access it over the public internet.
-
After the networking changes are completed, restart the App Service:

After a few minutes, Hydra should be accessible again. The Key Vault and SQL components are now only accessible over the Private Endpoints and can no longer be reached over the internet.
Configuring Entra ID Only Support for SQL Server (Legacy Installations Only)
We recommend changing the access to the database during a maintenance window by using the app service identity (Entra ID).
This is the default configuration starting with 1.1.1.8. No action is needed if Hydra was deployed after this version.
-
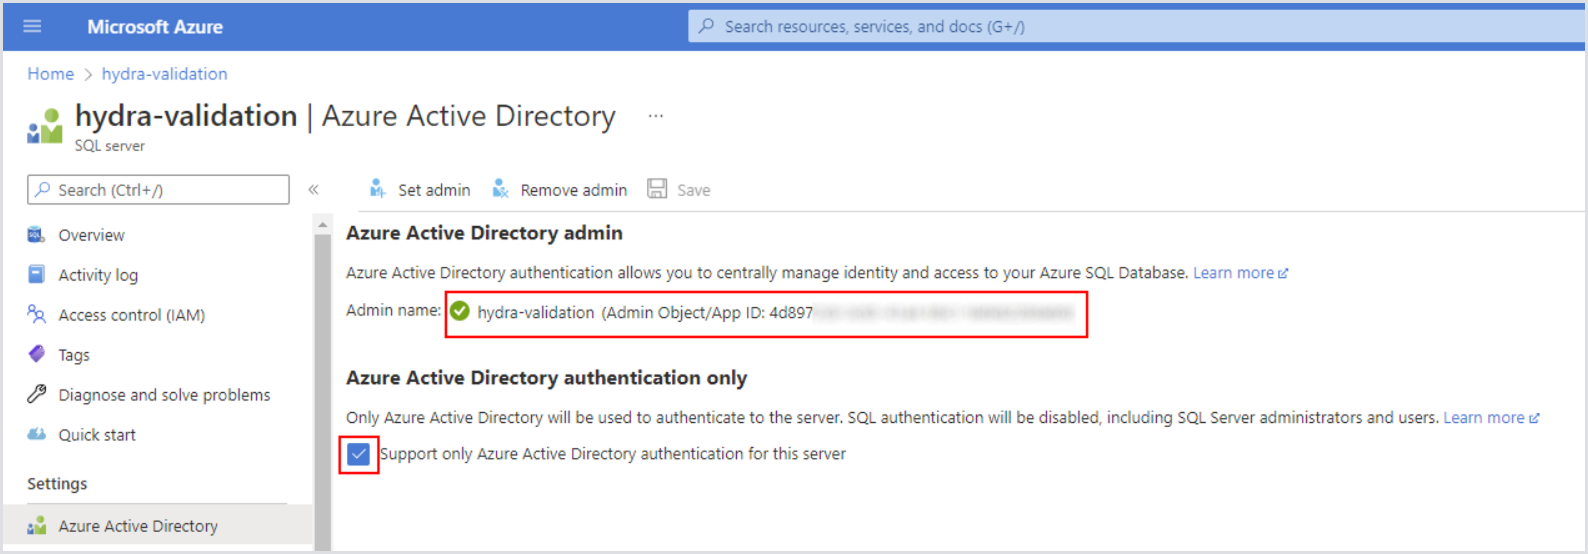
Open the SQL server resource in the Azure Portal > Azure Active Directory.
-
Set the managed identity of Hydra's web service as an administrator.
-
Check Support only Azure Active Directory authentication for this server.
-
-
Open the Key Vault and give yourself permission (Access Policy) to change secrets.
-
In secrets, copy the existing connection string from Hydra-DbConnectionString and modify it to match the following string:
Server=tcp:<your-instance>.database.windows.net,1433;Initial Catalog=Hydra;Persist Security Info=False;Encrypt=True;Connection Timeout=90;
-
Remove the other parts of the string (like user id, ...).
-
Add the new connection string as a new version.
-
Optionally, remove your permission from the Key Vault. Restart the app service and verify that the engine runs with the new configuration.