Getting Started
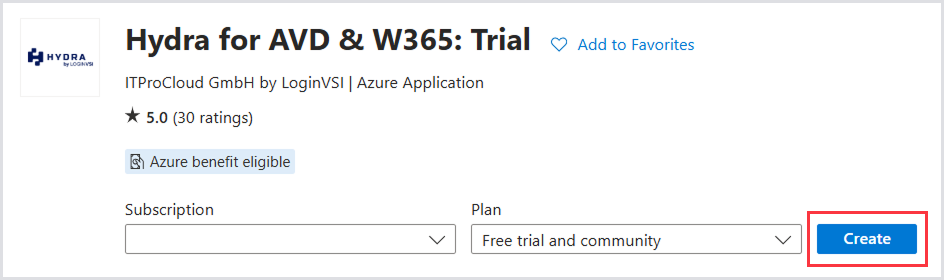
The easiest way to deploy Hydra is via the Azure Marketplace. To get started, head to the Hydra Marketplace page.
Deploying Hydra in the Azure Portal
Click Create to begin configuration of the Hydra instance.
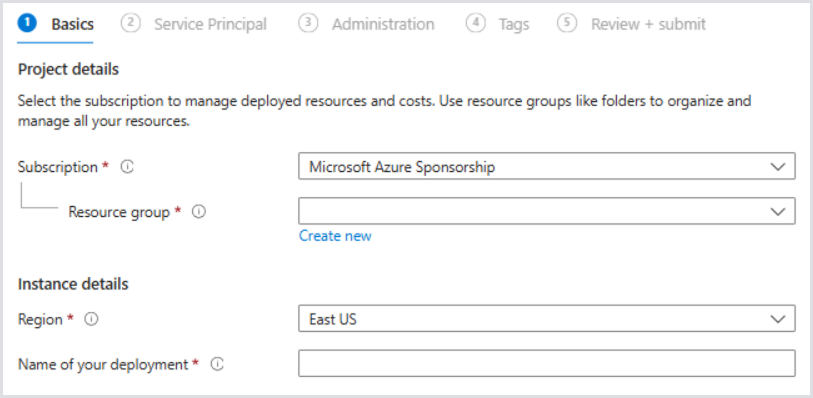
Basics
-
Enter the Subscription where Hydra should be deployed.
-
Hydra needs an empty Resource Group for new deployments. Specify an existing Resource Group that contains no resources, or create a new one.
-
Specify the region that Hydra should be deployed into.
-
Specify the Name of your deployment, which is used as the hostname for the URL that Hydra will be accessible from. For example, “myhydra” will be accessible from “myhydra.azurewebsites.net”.
-
Click Next to proceed to the Service Principal configuration.
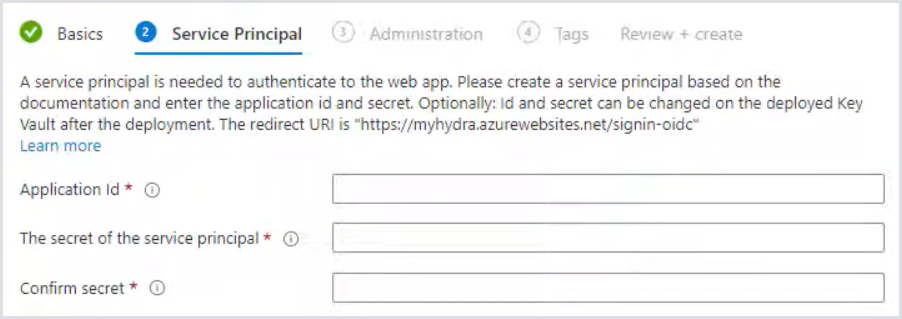
Service Principal
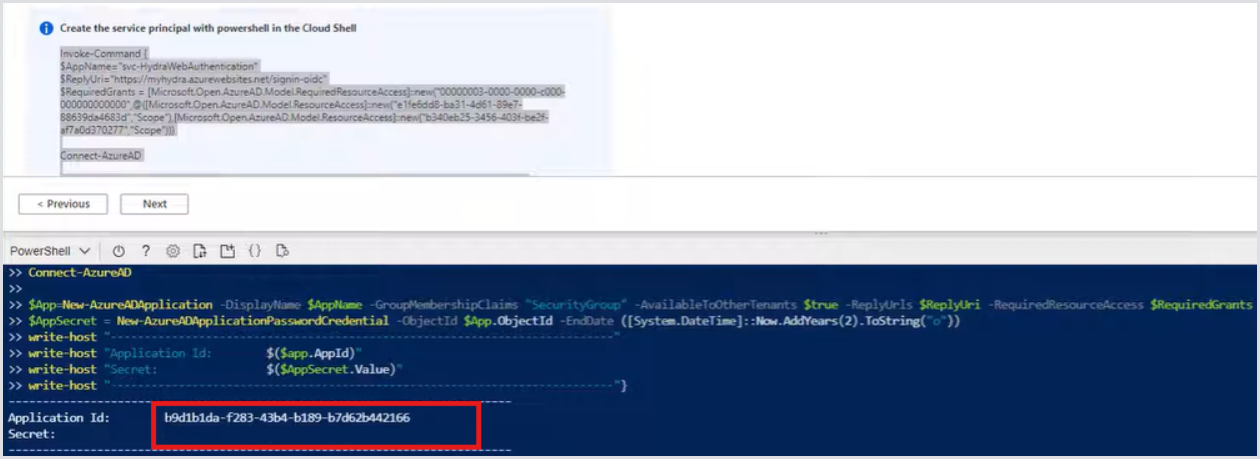
Hydra uses a Service Principal for authentication to the web app. This can be created manually or using the provided PowerShell snippet on the Service Principal page.
-
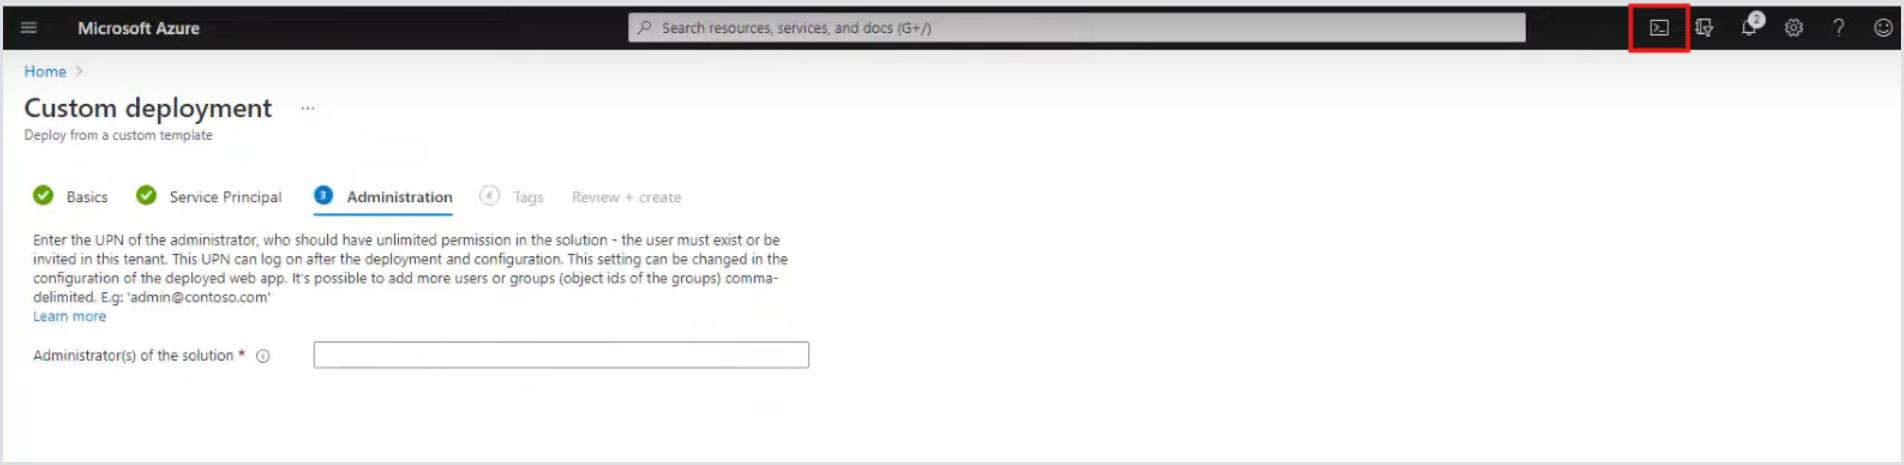
Open the Cloud Shell within the Azure Portal, using the shell icon within the toolbar in the top right.
-
Copy and paste the PowerShell snippet Create the service principal with powershell in the Cloud Shell into the Cloud Shell, and press the Enter key to run it. This will output the Application Id of the new Service Principal, and its corresponding Secret.
-
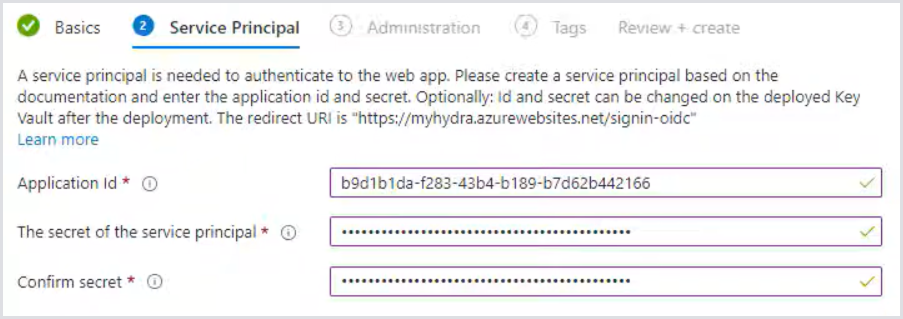
Paste the Service Principal’s Application Id and Secret into the respective fields.
-
Click Next to proceed to configure Administration.
Administration
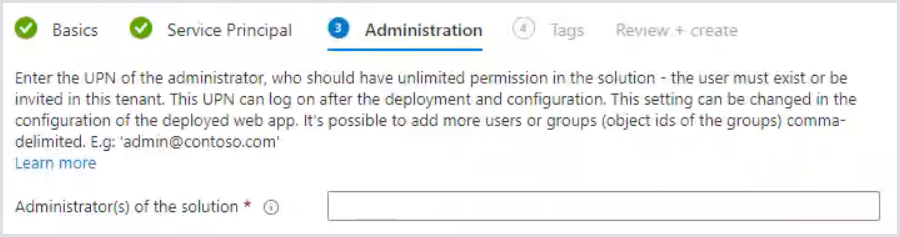
During the deployment, an Administrator must be defined. This user can log on after the deployment without additional configuration and has unlimited access within the Hydra instance.
-
Enter the UPN of an administrator account who should have unlimited permissions within the Hydra instance, e.g., username@domain.com.
-
Click Next to proceed to the Tags configuration.
Tags
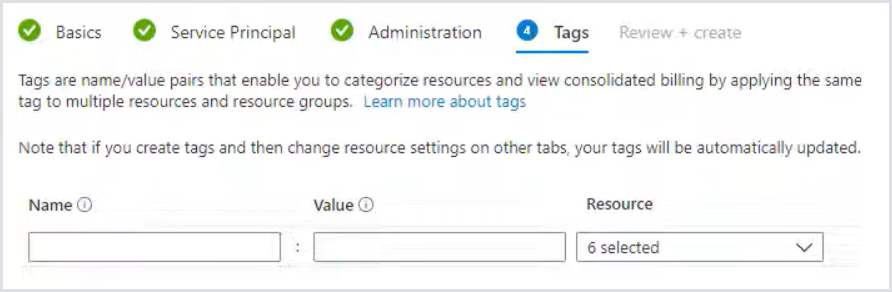
Tags can be useful for specifying the business criticality, projects, and cost attribution. Optionally specify the tags that should be applied to the Hydra resources within the Resource Group from Basics > Resource Group.
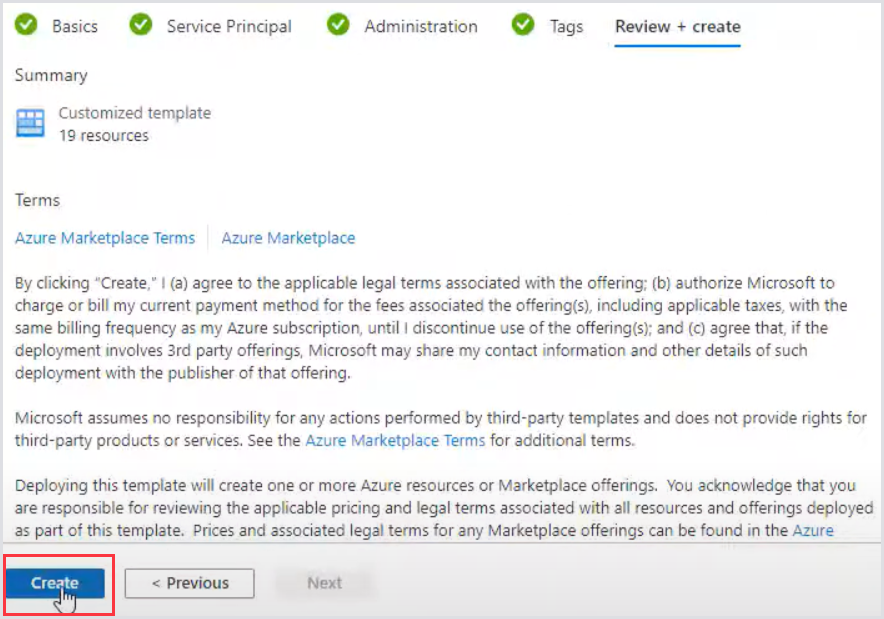
Review + Create
Once the Basics, Service Principal, and Administration configuration are completed, proceed to Review and Create the Hydra instance.
Next Steps
Once Hydra is successfully deployed, it will become available within a few minutes after all of the services start. You should then be able to access your Hydra URL you specified above. Next, you will need to add your first tenant.
Cost Savings Tips for Smaller Environments
If you are using Hydra to manage only a few host pools that contain a few session hosts each, you can reduce the app service cost by changing the service plan from S1 to B1.
For more information on this process, see Scale up an app in Azure App Service.